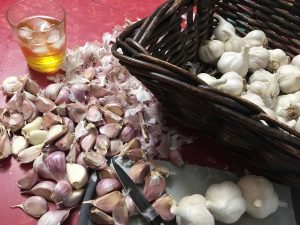
So you’ve harvested all your garlic, and it’s curing in a nice, cool, dry place. Maybe you’re eating some that’s fresh from the ground (I hope so!) And once again, you’re looking at your too-large harvest wondering “What the heck am I going to do with all this garlic!?”
Now, that may not be a problem for some – those who will just eat it all, or those who planted a manageable amount. But for a lot of gardeners – well, we’re a special kind of greedy when it comes to planting.
There are a few things you can do to make your garlic last, abating that otherwise inevitable “ack! I let it rot!” guilt, the gardeners’ dilemma.
|
|
|
|

Eat and Seed
Here’s the easiest one: Eat it. Just…eat it. However, before you eat any of your harvest, select the biggest, best looking bulbs with the very largest cloves, and put those aside to cure so you can plant them come October. Check out Arlene’s post on how to cure and plant garlic.
Roasted Garlic
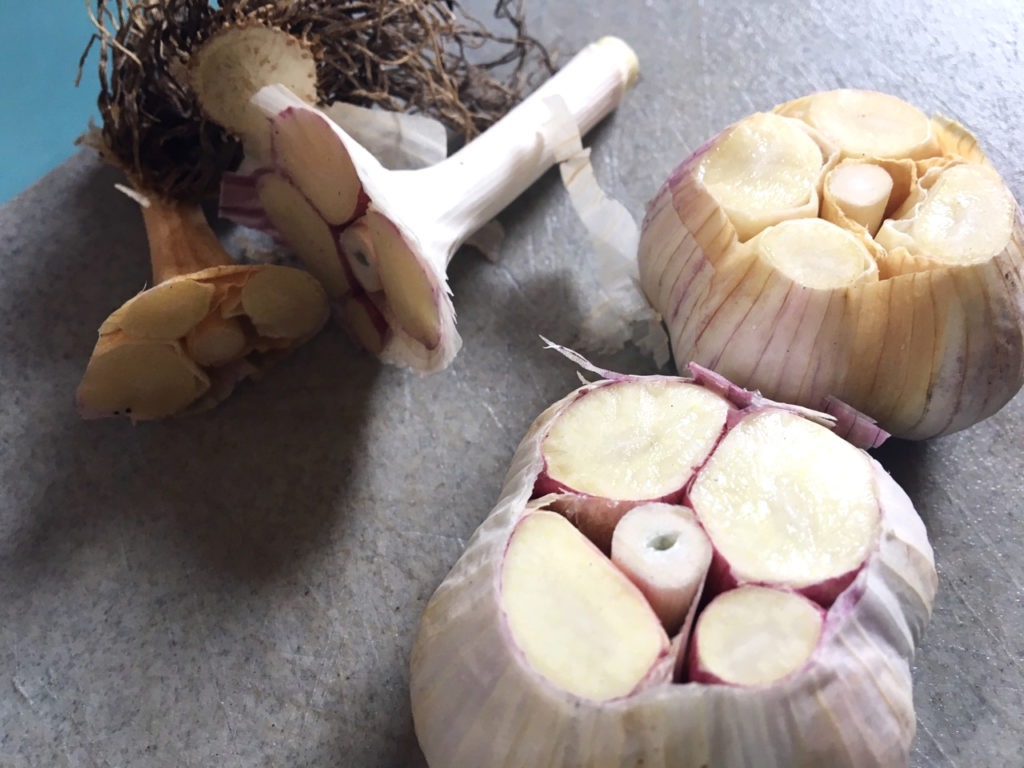
There are so many ways prepare garlic, including my personal favourite, whole roasted bulbs. Gently remove the outer layers of the paper, making sure to leave some layers of skin so the whole bulb stays intact. Slice off about a half inch from the top, pointy part of the bulb to expose the top of the cloves. Drizzle liberally with olive oil and use your fingers or a basting brush to ensure a nice even spread of the oil.
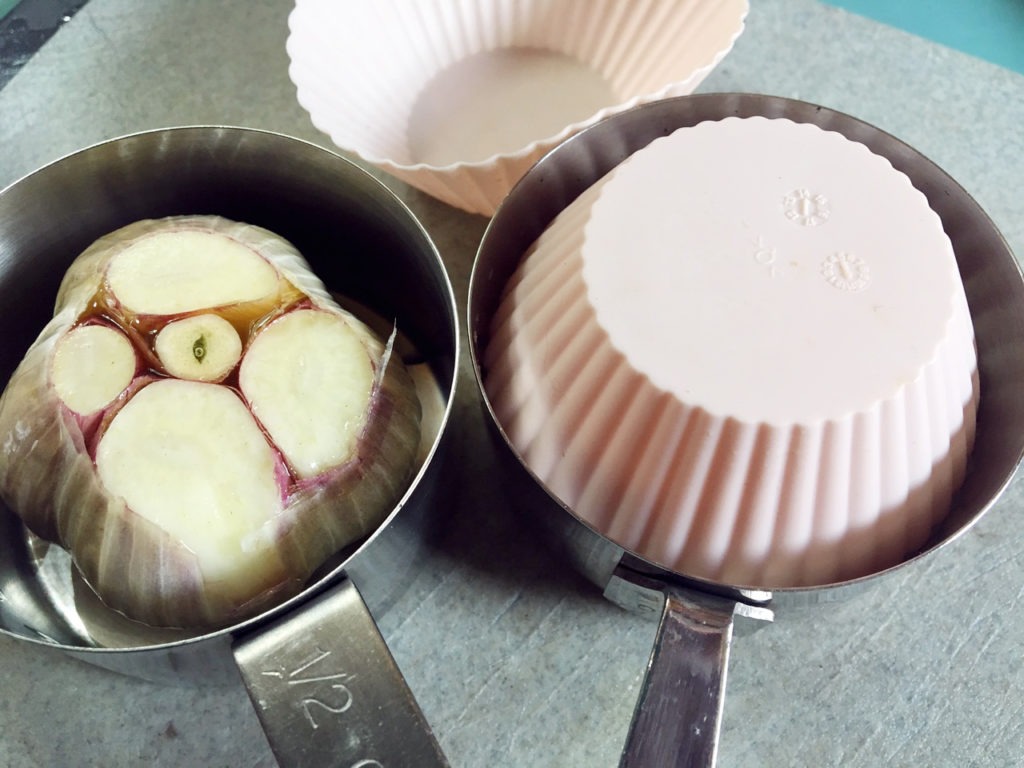
There are a few different methods to the actual roasting. Some people like to wrap each clove in aluminium foil, but that’s not only a single-use material, there’s a lot of evidence regarding health issues and aluminium. So instead, put each bulb cut-side up, in a muffin tin, and place another muffin tin upside down overtop. This will have the moisture retaining feature of the aluminum foil without the waste.
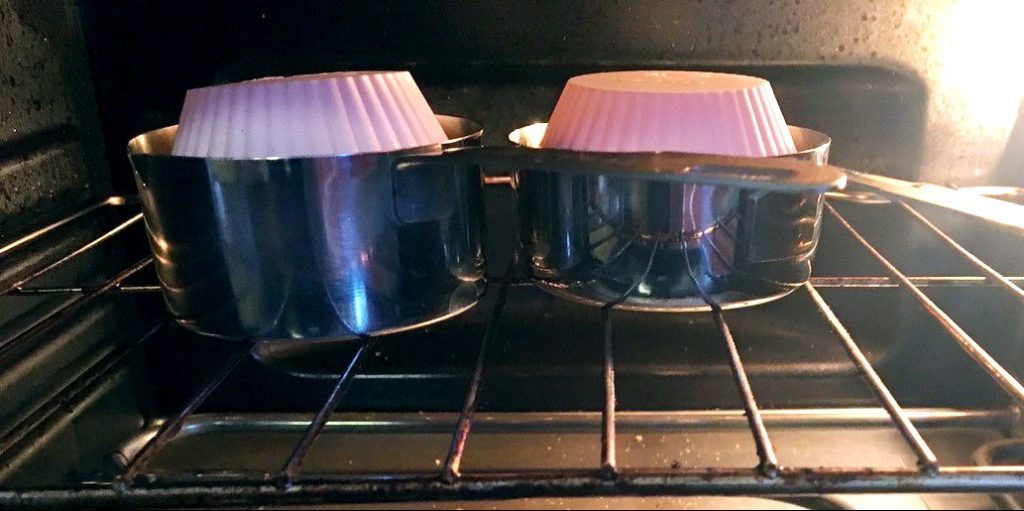
Place the arrangement on the centre rack of a preheated oven at 400 degrees, or in a closed BBQ at 400 degrees, for anywhere between 30 and 45 minutes depending on the efficiency of your oven and how well done you like your garlic. If roasting on the Q, use indirect heat to avoid burning (turn off the burner directly under the garlic). The aroma will be extraordinary. Finished garlic should be a beautiful brown on the outside, with cloves that are smooth and creamy and caramelized. Droooool…
|
|
|
It will be too hot to handle straight out of the oven, so let it cool a little. It will never be more enjoyable than when it’s fresh baked. Use a sharp knife to slice down the skin of each clove to help in getting the garlic out with a seafood fork. It should spread like warm butter.
Spread it on fresh crusty bread, or top it with diced tomato and basil for fantastic bruschetta. Add blobs of it to soup. Use it in a Caesar salad dressing. Cracker, garlic, brie… Not only is it extraordinarily delicious, but for those who struggle digesting raw garlic, roasted garlic is much easier on the system. It’s a huge hit when you have guests, and stores very well in the fridge or freezer.

Gift It
Method next: I can’t think of a single person who wouldn’t love a few home-grown garlic bulbs as a little gift. Be careful though – it’s such a joy to share, you can suddenly find yourself short of garlic for yourself!
 |
TIP: Easy PeelingThese next processes require peeled garlic. One easy peel method is to put unpeeled cloves into a metal mixing bowl, place a second, smaller bowl upside down in the larger bowl and shake like hell (the bowls, not yourself, although that may be unavoidable in the process). The skin will come away from most of the cloves, saving you a lot of hand peeling.
|
Dry It
Ever made garlic powder? Easy-peasy. Peel your fresh cloves. You can either slice them thin by hand, with a mandolin, or with the slicing blade of a food processor. You can also just press it down to a thin flat mash using a solid spatula, although this can be messy.

If you’re using a purpose made dehydrator, lay the garlic out in thin layers. It doesn’t have to be perfect with no stacked pieces, but it will dry more evenly and efficiently if it is. Follow the manufacturers’ instructions for drying garlic.
If using a conventional oven, start by preheating it to 140 degrees. A convection oven will be more efficient, but is certainly not essential. Spread the prepped garlic in a thin, uniform layer across parchment paper, and then place on a cookie sheet. Use the middle rack of the oven, and check on it every 30 minutes. Separate pieces that are stuck together from time to time. Ovens vary in their efficiency – some may take longer than others, but you can count on at least a couple of hours depending on how thin the garlic is. Finished garlic should be a light brown colour, and completely try. Slices should break, and not bend at all.
From here the dried garlic can be used and stored as is, or, to make garlic powder, simply use a mortar and pestle, small food processor, or coffee grinder to pulverize the garlic until you get the desired texture.
Store your finished product in the freezer, or in an airtight container in a cool, dry, dark space, where most spices should be stored. If storing at room temperature, you can add a desiccant (moisture absorbing packet) to keep any air-bound moisture from re-hydrating the garlic, which can lead to rot or worse.
The dehydrated garlic slices are awesome on pizza!
PROCESS AND FREEZE IT
Come January and beyond, you’ll start noticing your cured garlic will start getting dry and rubbery, and is losing it’s great taste and aroma. I suggest processing and freezing garlic long before this starts to happen. Processing garlic for long-term storage can be a bit of a hassle, but is well worth it. It can take a few hours to do properly, so it goes well with some good music and a nice bottle of wine or drink of choice (I go single malt scotch). Let’s go step by step.
Step 1: Get your music and drink of choice together (optional). Also have a bowl of water and dish towel handy, or be prepared to visit the sink on occasion. This is a finger-sticky job!
Step 2: Get a garlic mincing device or food processor together, and a few medium sized mixing bowls, some olive oil, rubber spatula, and of course, all the garlic bulbs you’ll be wanting to process.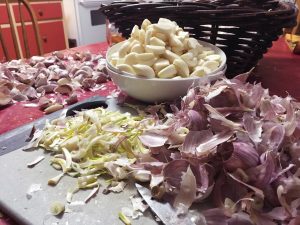
Step 3: Break apart all the bulbs into individual cloves. Slice off the root-end of each clove, and peel all the cloves. You can use the mixing bowl method I mentioned above. I find another easy way to peel garlic is to gently crunch each clove with the flat of a large knife (careful!) or solid spatula, especially when you don’t need nice looking slices or whole cloves. The skin should separate quite nicely.
Step 4 (optional): If there are green stems growing through the hearts of the cloves, you can choose to remove them. Some people believe that is the part of the garlic that leads to digestive difficulties.
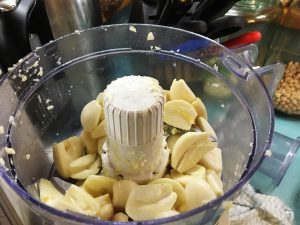
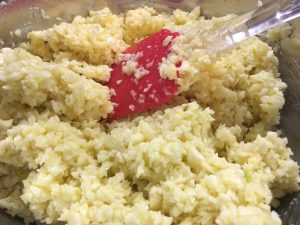
Step 5: Grind the garlic. This is where things get really sticky, especially if you’re using a hand-held grinder. A food processor is a very good option, but just be careful as it can be easy to puree the garlic. That’s fine if you like it like that, but personally, I prefer it a little more chunky. Once you grind a decent amount – say half to three-quarters of a cup – and have placed it in a medium sized mixing bowl, add enough olive oil to well-coat the garlic. How much oil you add is up to you. I personally like just a generous coating without it being runny.
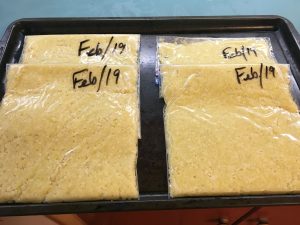
Step 6: Place the minced, oiled garlic in an airtight container and freeze right away. I like to put it in a Ziplock freezer bag, in a layer about one third of an inch thick. This way, I can remove all the air from the bag, and can easily snap a piece off the frozen block when needed later.
|
|
|
|
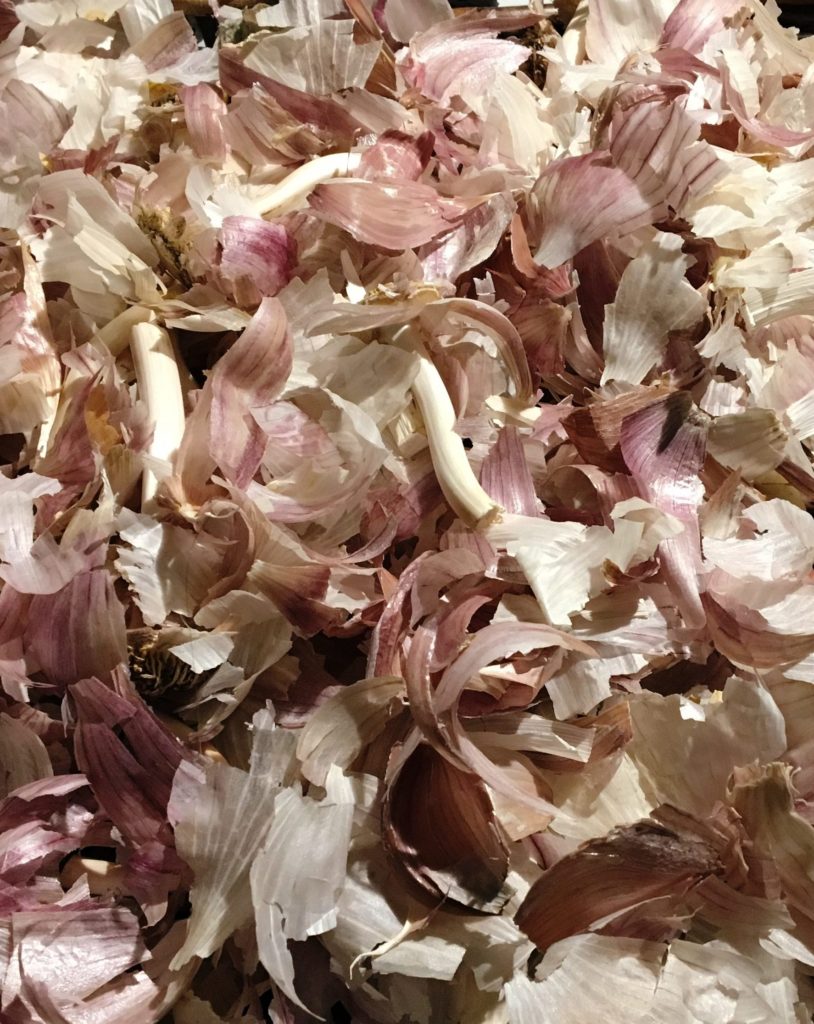
And that’s that! You can compost all your left-over elements, and enjoy what amounts to fresh garlic all through the winter.
A simpler variation on this theme is to simply place whole cloves, peeled or unpeeled, in olive oil, and freeze it like that. Again, an airtight container such as a Ziplock bag with air removed is best. This method is simpler up front, but is messy to deal with when you need it to cook with. Also, it can be a challenge to separate just one or two cloves from the frozen block. It will also lose its firm texture, but does maintain its taste and aroma.
A WORD OF WARNING: BotulismGarlic that is encased in oil, whether its peeled or unpeeled cloves, or minced, can lead to some problems if not treated properly, particularly the appearance of botulism, which can lead to some very serious health issues, including, but not limited to, death. Don’t let this scare you, just proceed with the following important safety steps in mind.
|
Let’s not leave this post on a “how to avoid dying from botulism” note. We’ve been processing and storing garlic in this way for years now, with nary an issue. If done properly, which is very easy to do, you will have anytime-access to your own home-grown garlic, and will eliminate any and all “I let my harvest rot!” guilt.