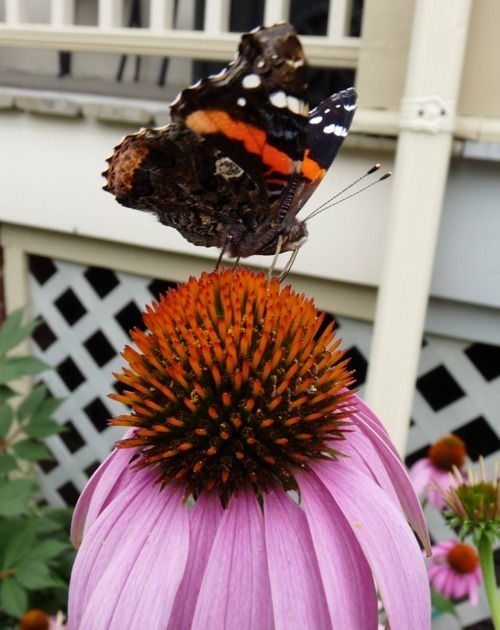
All you need is a pot, a seed, a quality growing medium,
light, water, love and the seed will do the rest.
Why grow seedlings?
 Start heat lovers indoors |
 … For a late summer harvest |
Why not just plant the seeds directly in the ground? There are tender plants and hardy plants. Some need warmth to germinate and flourish and others can tolerate and even prefer cool temperatures. Cold hardy plants such as peas, spinach, onions and many others can be sown directly in the ground as soon as the soil can be worked. But tender plants like tomatoes, eggplant, and peppers can’t be planted out until all danger of frost has passed. These heat loving plants take a long time to produce fruit so we give them a head start by growing them indoors.
When To Start? Count backwards from Last Frost
Everything is measured by the last frost date. In Toronto, hardiness zone 6a, last frost is usually around May 11th. Plants like tomatoes and peppers can be planted out 2 weeks after last frost so that means around May 23rd. You want your plants to be about 8 to 10 weeks old when you plant them outside, so counting back from May 23rd means you can start those seedlings mid to end of March.
To figure out the last frost date in your area consult The Old Farmers Almanac for a handy dandy chart. Or you can check the Government of Canada website.
To figure out when to start which seedlings consult one of my favorite gardening books, The Organic Gardeners Handbook by Frank Tozer. Check your local library. Toronto Public Library has 15 copies plus 11 copies of his other book The Vegetable Gardeners Handbook.
The Garden Plan
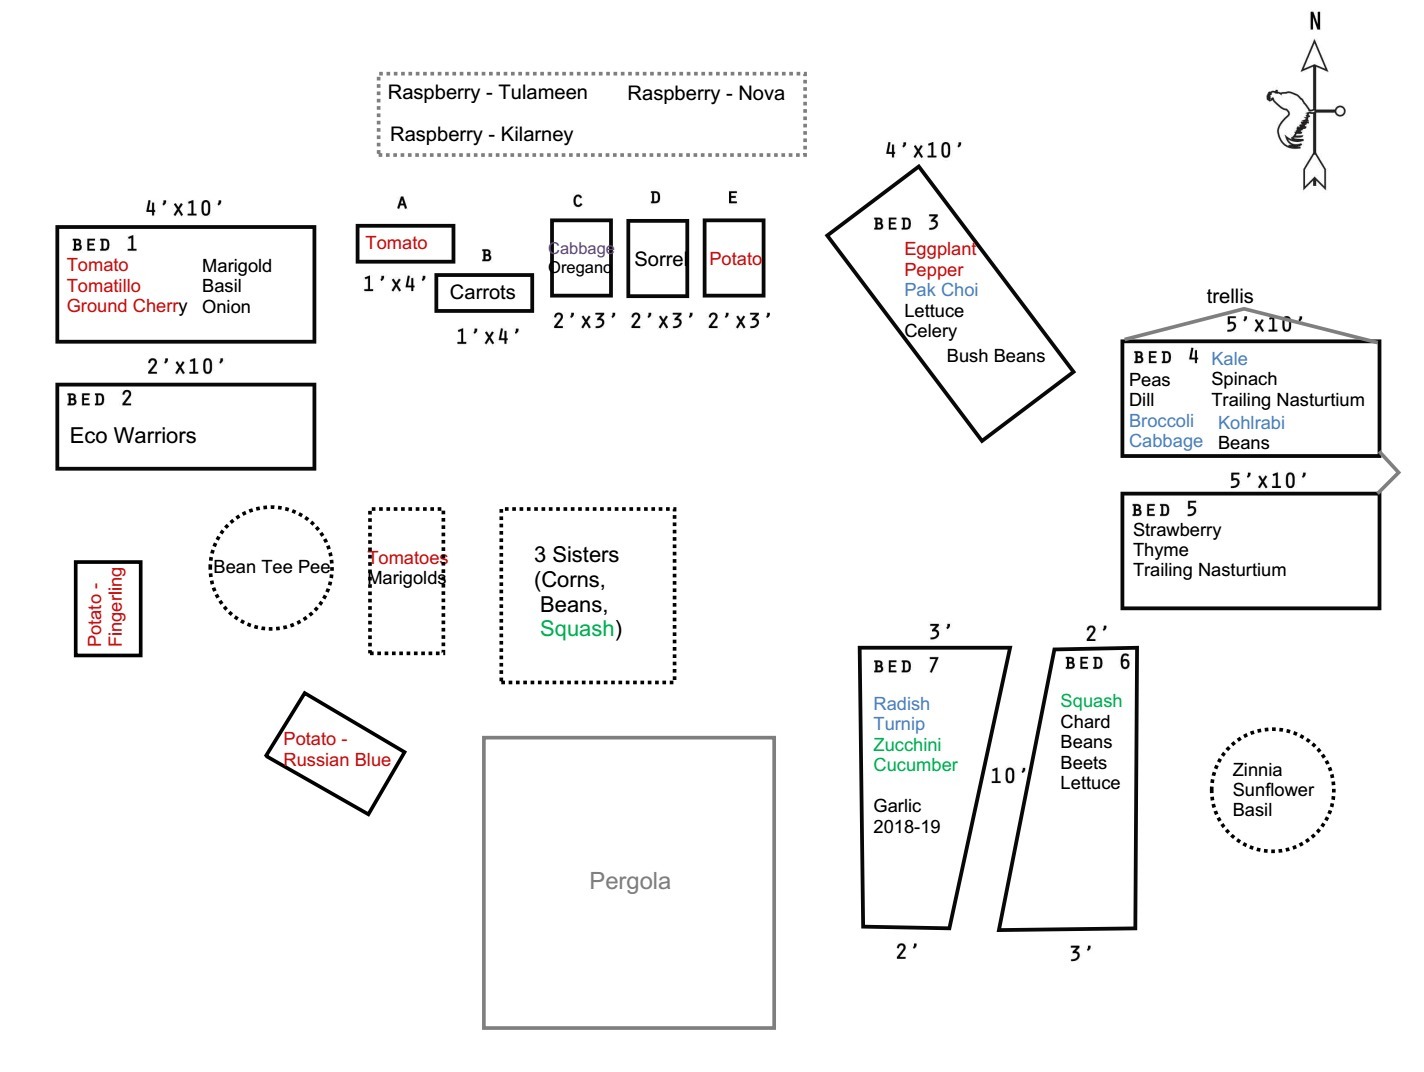
I know how it feels to want to just get going but a garden plan will save you a lot of time, money and aggravation. It doesn’t have to be complicated or take a long time to figure out. A simple plan will help you organize what you want to grow and where you want to grow it. It will also help you determine how many seedlings you will need to start. Some things to ask yourself when creating a garden plan: What do I (and my family) like to eat? How much space do I have? How much sun does that space get per day? There are many ways to plan your garden and many different books and online articles that can help you on your way. I like the square foot gardening method because it’s efficient, easy and it works. Check out this garden planning post when I go into much more detail.
Where To Get Those Funky Heirloom Seeds
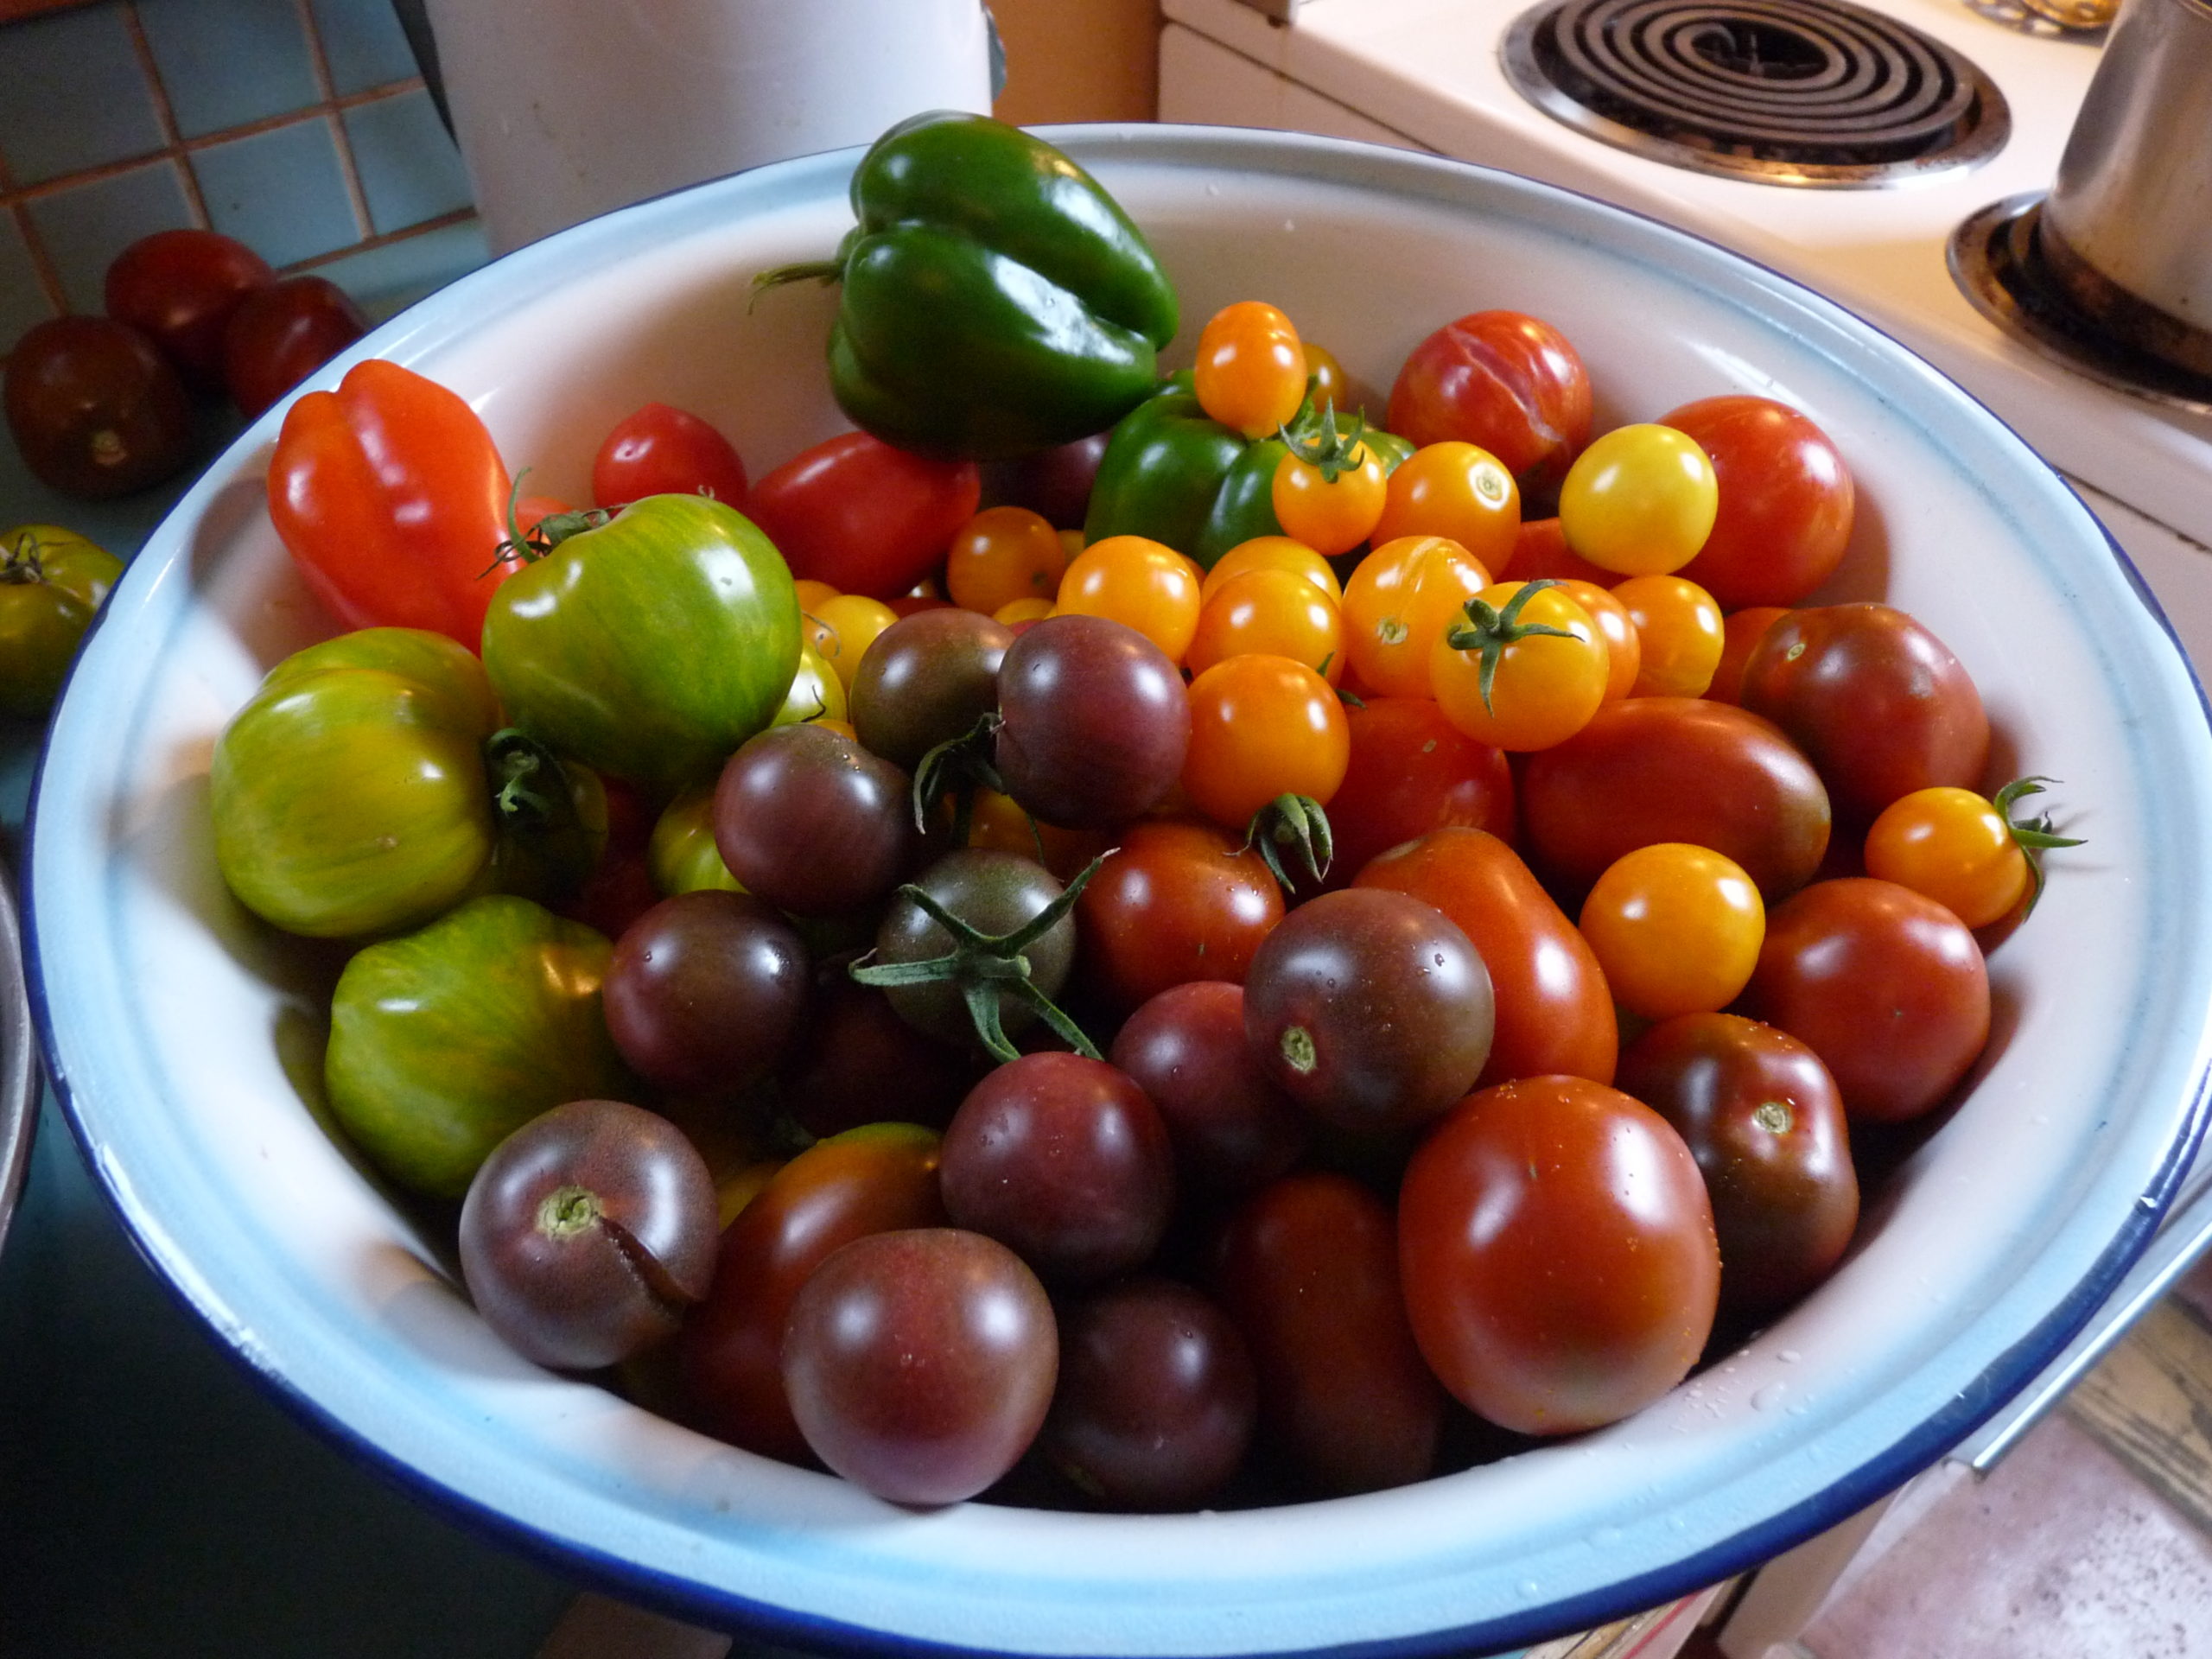
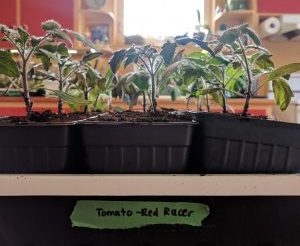
It’s great fun growing colourful and delicious heirloom tomatoes and uncovering their fascinating histories. Many of them have funky names like Earl of Edgecomb, Old German, Pruden’s Purple, Mrs. Botts – but these seedling varieties may be difficult to find in your neck of the woods. Big box stores and local garden centers have limited supply of the same-old-same-old hybrid varieties and even fewer options for organic heirloom seed. Check on line or at your local farmers markets for seed growers and farmers. Some of our favorite suppliers are Matchbox Garden and Seed Co., Urban Harvest William Dam, Mumms (in Ontario) and West Coast Seed from BC. There’s also Johnny’s Seed in the US.
West Coast Seeds has an excellent web site with a glossary of terms for more insight into different seed varieties. Plus they have a large selection of great gardening books.
What’s the Dif? Heirloom vs. Hybrid
Simply put and generally speaking, Heirloom varieties are Mother Nature’s seeds that have been saved for generations and breed true to the parent plant. To be an Heirloom, the variety has to be at least 50 years old. Hybrids have been produced by humans and are not ideal for seed saving since they don’t breed true to the parent plant. So if you want to save your seed, which is a great way to keep control of your food supply, choose heirloom varieties.
What the Heck is Open Pollinated?
Now it gets a bit confusing but again, simply put, there are plants that reproduce through open pollination, closed pollination and controlled pollination. Open means the birds, bees, bugs and wind do the pollinating. Closed is when the plant self-pollinates and an example of controlled pollination is when humans intervene to create hybrids.
Enough already. Let’s Get Growing!
The following is a list of supplies we like to use for starting seedlings but there are many other materials you can use.
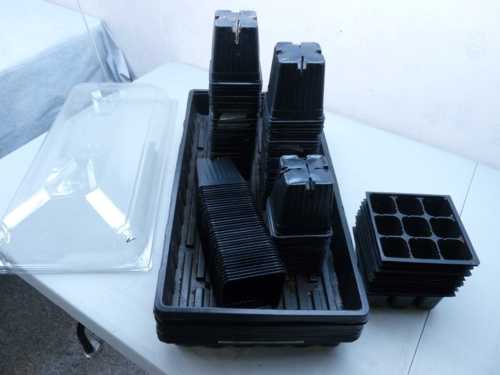
You can even make your own pots with newspaper if you’re feeling crafty or recycle egg cartons or plastic fruit boxes from the grocery store. Start your seedlings in 1” pots but they will outgrow them in about 4 weeks so you will then need to “pot them up” into bigger pots. Important to note: one tray holds 72 one-inch pots or 15 four-inch pots. That means one tray expands to four once all are potted up. Make sure you have enough space and lighting to accommodate all four trays. If you only have room for one tray, then don’t seed more than fifteen plants!
Supplies
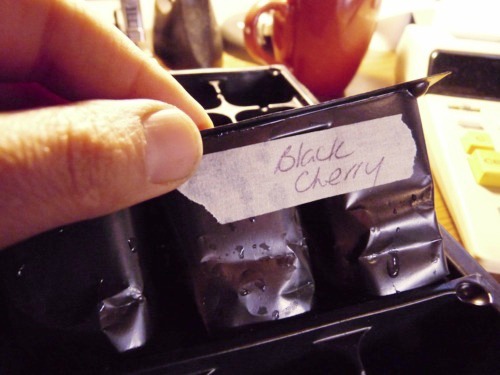
- Masking tape and pen for labeling your pots
- 1” Pots, trays and tray covers. Get short and tall covers to accommodate the growing seedlings. Choose covers with ventilation holes. They are more expensive but can help prevent damping off .
- 4” pots for “potting up”
- Seeds
- Growing medium: We like organic potting soil combined with vermicompost (worm castings) We use Jocelyn’s Soil Booster.
- Water
- Light
- Spray bottle for watering
- A fan to keep the air in your growing space circulating.
- Music to get into the groove. I’m loving CBC Radio 2
Lighting and trays can be found at hydroponic stores like Grow it All Hydroponics or Bustan or any Canadian Tire, Rona or most garden centers. And of course there is always Lee Valley for most supplies including cute little seeding spoons.
Step by Step
You’ve got your seed and your supplies. Now what?
1. Wash up!
Clean your space and materials especially if you are using your pots from last year. That way you’ll keep the risk of pest infestations down.
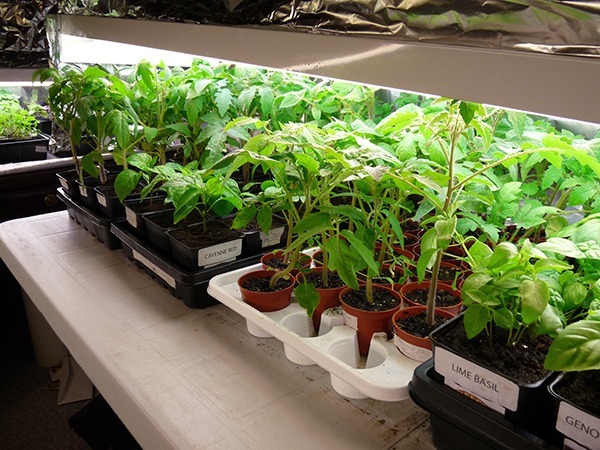
2. Set up lights, it’s worth the effort. South facing windowsills are okay but you the plants are very likely to getting leggy and weak as they stretch sideways to reach the sun. It’s better to light the plants from overhead.
We use florescent tubes (T5’s) or LED lights, hung from the ceiling on adjustable chains. That way the light can move upward as the plants grow taller. Remember, the number of trays will increase as you pot up your seedlings so make sure you hang enough lights to accommodate all your trays. So either increase the amount of lights you hang or reduce the number of seedlings you start. Not to sound like a nagging mother but that’s another reason to do a garden plan.
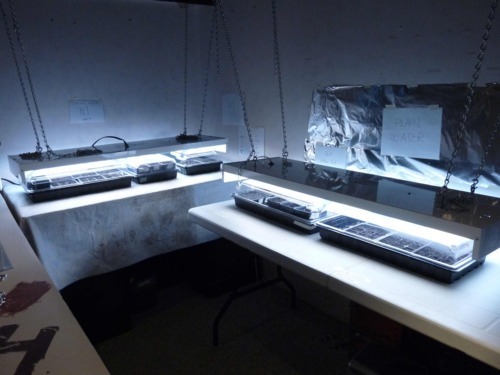 Florescent fixtures |
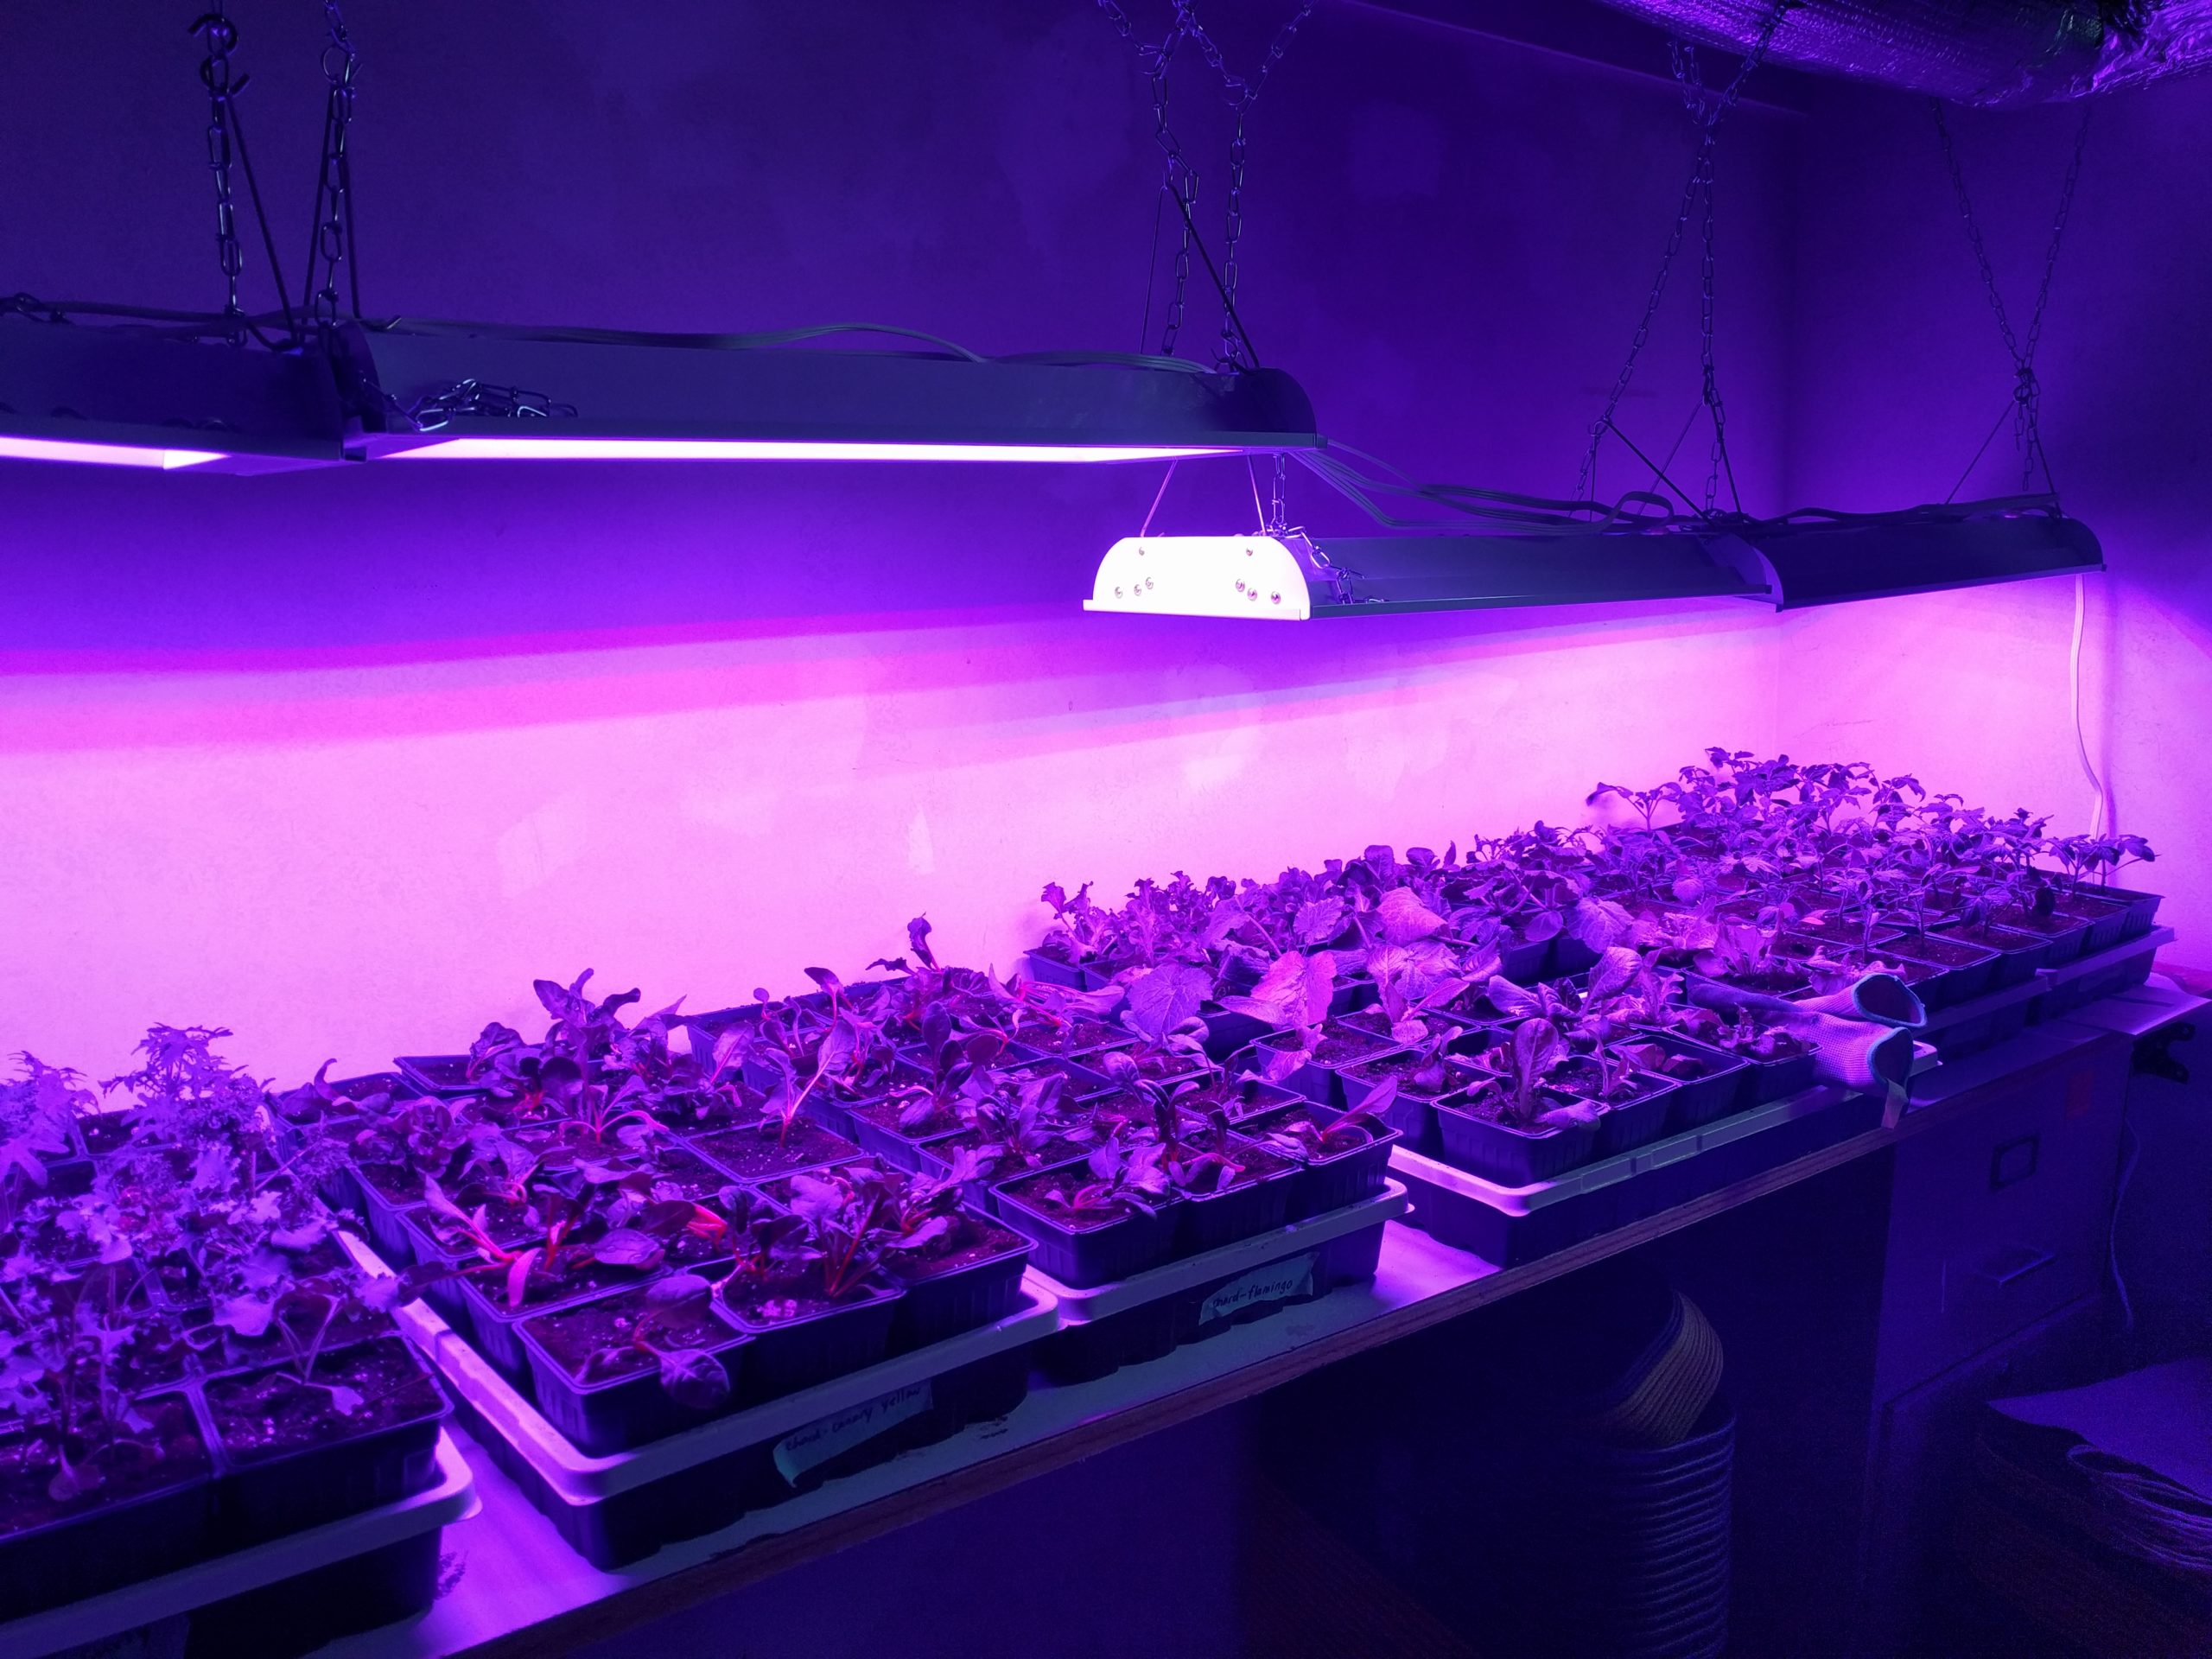 LED fixtures |
3. Set up a potting station
This will be used to fill your pots with soil and seed your plants. I use my laundry room and office. My file cabinet doubles as my potting table and my adjustable desk chair gets the soil up off the ground. They’re the perfect height!
4. Label the pots. Do this first so you don’t get confused and the labels don’t get too dirty.
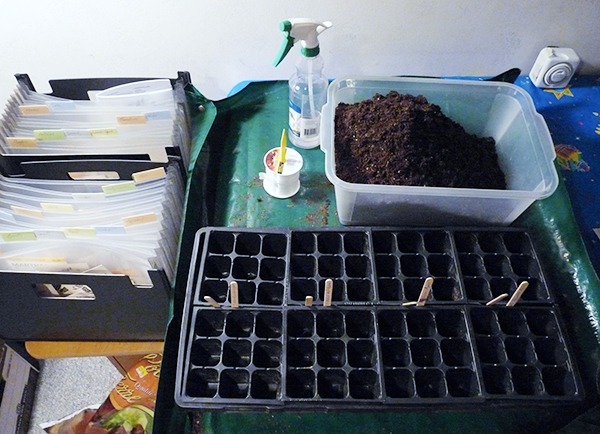 Potting station |
 Labeling keeps things organized |
5. Mix your soil. We mix organic potting soil and good quality vermicompost at a ratio of 5:1. You can purchase this from a supplier or you can make your own with the help of Cathy’s Crawlers. She helped us set up a thriving vermicompost station indoors years ago. We never feel guilt anymore when veggies rot in our fridge. Our red wiggler worms are happy to devour it all and then reward us with their excellent manure. And our plants love it! Win. Win. Win.
6. Next, fill the pots with soil and sow the seeds. For sowing depth the general rule is plant at a depth of 2 to 4 times the diameter of the seed. One or two seeds per pot will do.
7. Spray with water. Keep the soil moist but not soaked. A watering can may lead to accidental over-watering.
8. Cover the tray with your plastic dome. Most seeds don’t need light to germinate so don’t turn on your lights until the plants germinate.
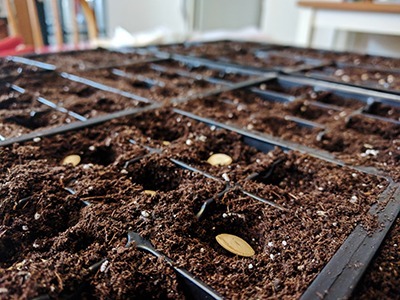 Seed! |
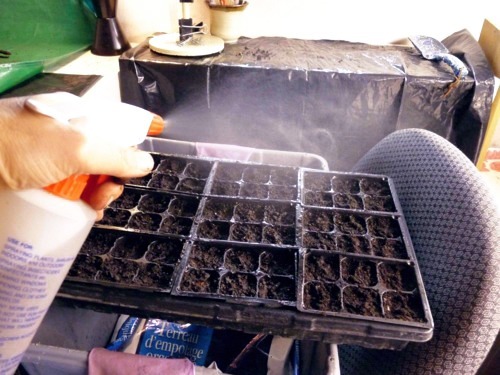 Water |
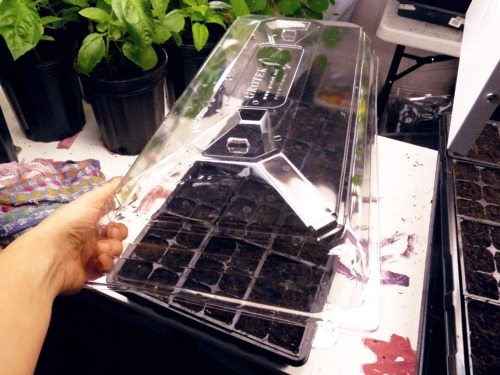 Cover |
9. Check the trays every day for signs of soil moisture and germination. Most plants germinate in 5 to 20 days. Spray with water if the soil needs it. Look for mold, which is not uncommon. Simply pinch or scrape it off and discard it in the city compost.
10. Let there be Light – As soon as the seeds begin to sprout, that’s the time to turn on the lights. I like 14 hours on, 10 hours off. Plants need “sleep” and may show signs of deprivation with purple foliage. Make sure the lights are very close to the seedlings otherwise they get leggy and weak and may fall over. The first two leaves to show are called Cotyledons. The next two that emerge are referred to as “true leaves”.
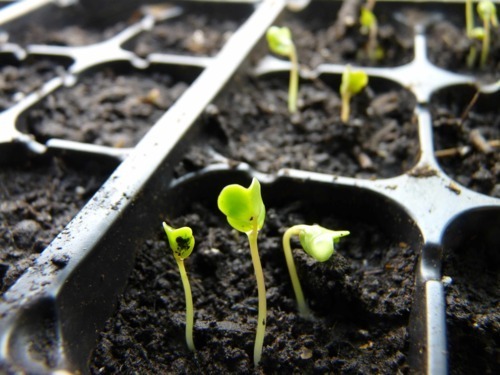 Cotyledons |
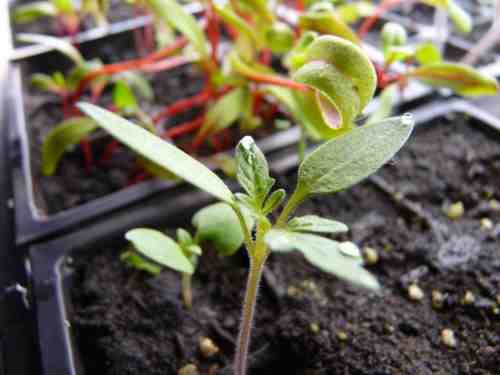 True leaves |
It’s time to pot up the plants when there are at least two pairs of true leaves. This will likely be in 3 or 4 weeks. Potting up plants gives the roots more room to grow and the fresh soil gives them an added infusion of nutrition. The seedlings may experience a little transplant shock and look a little floppy at first but don’t worry. They will bounce back and they’ll love you for their new improved growing conditions.
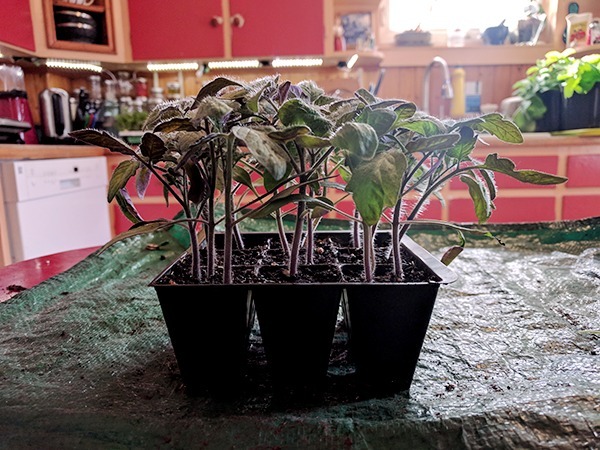 Transplanting from 1″ pots… |
 …to 4″ pots! |
Common problems and solutions
Mold. If you see mold it’s likely you are over watering and there is not enough air circulating. Pick off the mold and discard in city compost. Then turn up your fan.
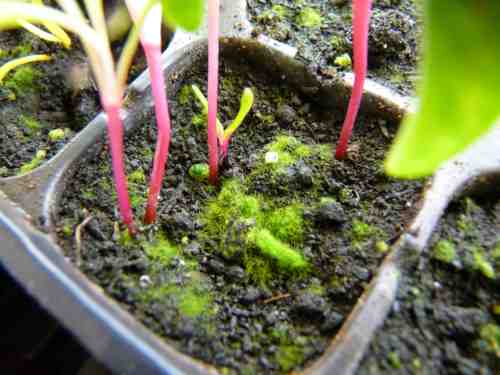

Damping Off is a fungal disease affecting the stem of the seedling just above and below the soil line. It appears rotten and pinched and the seedling eventually dies. There is no cure. Prevention is the key. Clean pots and soil, proper sowing depth, a balanced amount of water and proper air circulation will help.
Fungus gnats are little black flying bugs that lay eggs in the soil. They are a nuisance more than a threat, unless they get out of control. Use yellow sticky paper or tape to trap adults. And keep your grow tables clean. If you’re interested in bugs there is a fabulous book called The Organic Gardener’s Handbook of Natural Insect and Disease Control edited by Barbara W. Ellis. It’s a must-have in any organic gardener’s library
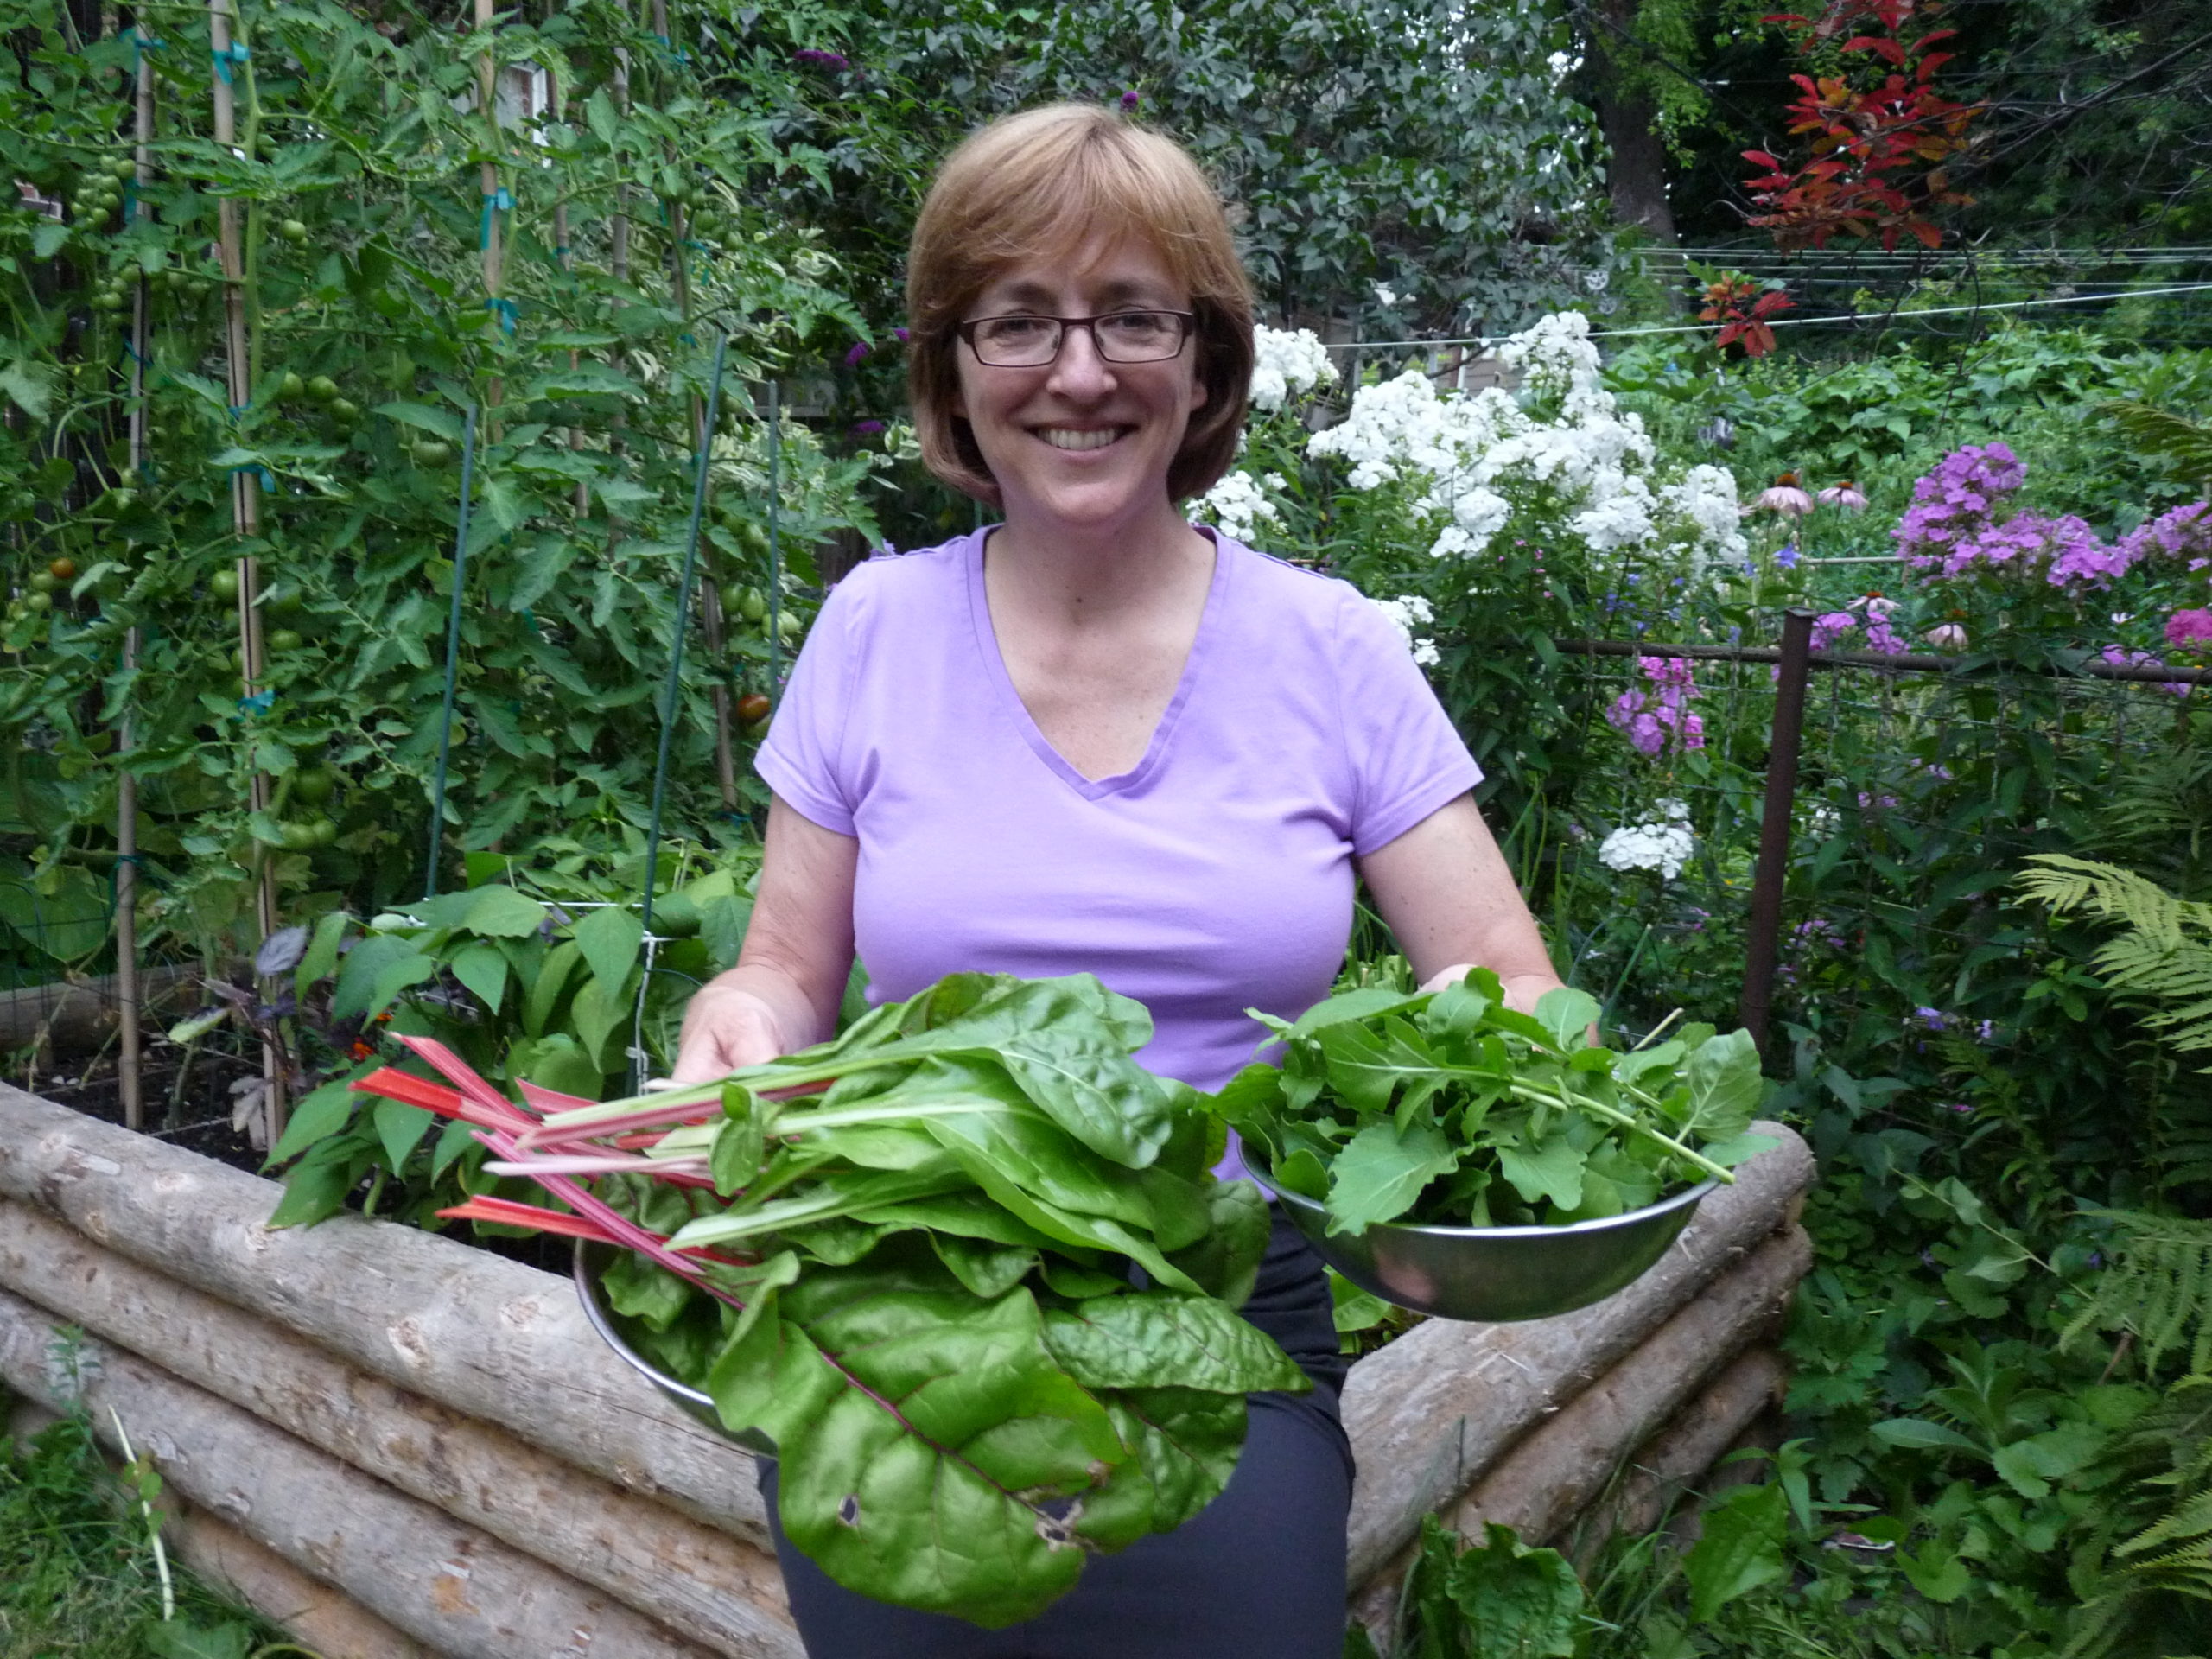
Growing your own seedlings is a great way to learn about the magical process of bringing plants to life. Not only are you taking back a little control over what you eat, you’re also able to enjoy rare and delicious varieties of vegetables that you just won’t find at the grocery store.