Microgreens are densely seeded edible plants that are harvested and consumed before they are mature. Microgreens are a nutritional powerhouse, holding up to 40 times more vitamins and nutrition than their mature counterparts. Personally, I love how a sprinkle of microgreens can instantly transform my go-to meal of nuked frozen vegetables (don’t judge me!) from slimy mush… to “Salad Nirvana: harmony of texture and flavour“, from lazy gardener’s winter meal… to a posh affair worthy of being—as Pinterest calls it— a “salad bowl“. It’s no wonder that microgreens are often used in exquisite wraps and as garnishes on dishes at high-end restaurants.
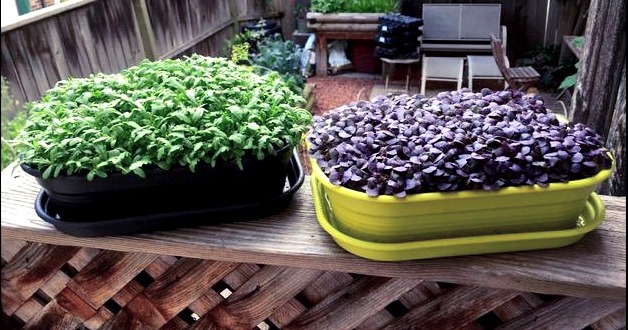
As fancy as they look, microgreens are not intimidating to grow at all. The barrier to entry in terms of material cost, time commitment, and learning curve are practically non-existent. Furthermore, since they are grown indoors, they can be enjoyed all year round. Pretty, tasty, nutritious, easy, and zone-6-winter-friendly? Count me in!
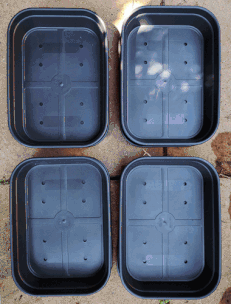
Materials
- Grow tray
- Saucer
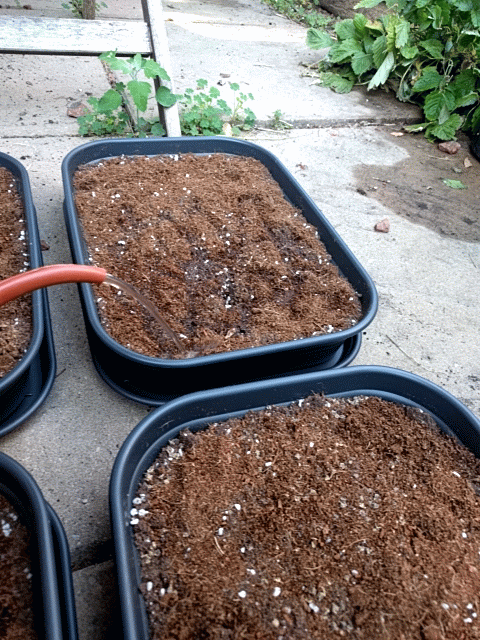
- Organic potting mix
- Coconut Coir
- Seeds
Which seeds to use?
A good rule of thumb is to ask yourself whether you would eat the leaves of the mature plant. As long as you can eat the adult leaves, you can eat the respective microgreens. Avoid plants in the nightshade family (tomato, potato, peppers, eggplants) because their leaves are poisonous! Here are some of our recommendations, with their respective days to maturity and seeding quantity based on BUFCO’s large DIY microgreen kits:
| Seeds | Days to Maturity | Seed Quantity* |
| Sunflower | 8 | 1/2 cup |
| Peas | 10 | 1/2 cup |
| Cilantro | 10 | 2 tbsp |
| Beets | 10 | 2 tbsp |
| Radish | 10 | 2 tbsp |
| Kohlrabi | 10 | 1 tbsp |
| Mustard | 10 | 1 tbsp |
| Arugula | 10 | 2 tsp |
| Basil | 14 | 2 tsp |
*Based on Large BUFCO Microgreen kits
My favourites? Peas, kohlrabi, beets, and mustard! So easy to grow, so easy to harvest (no need to pick off seed husks), so colourful, and so flavourful!
Instructions
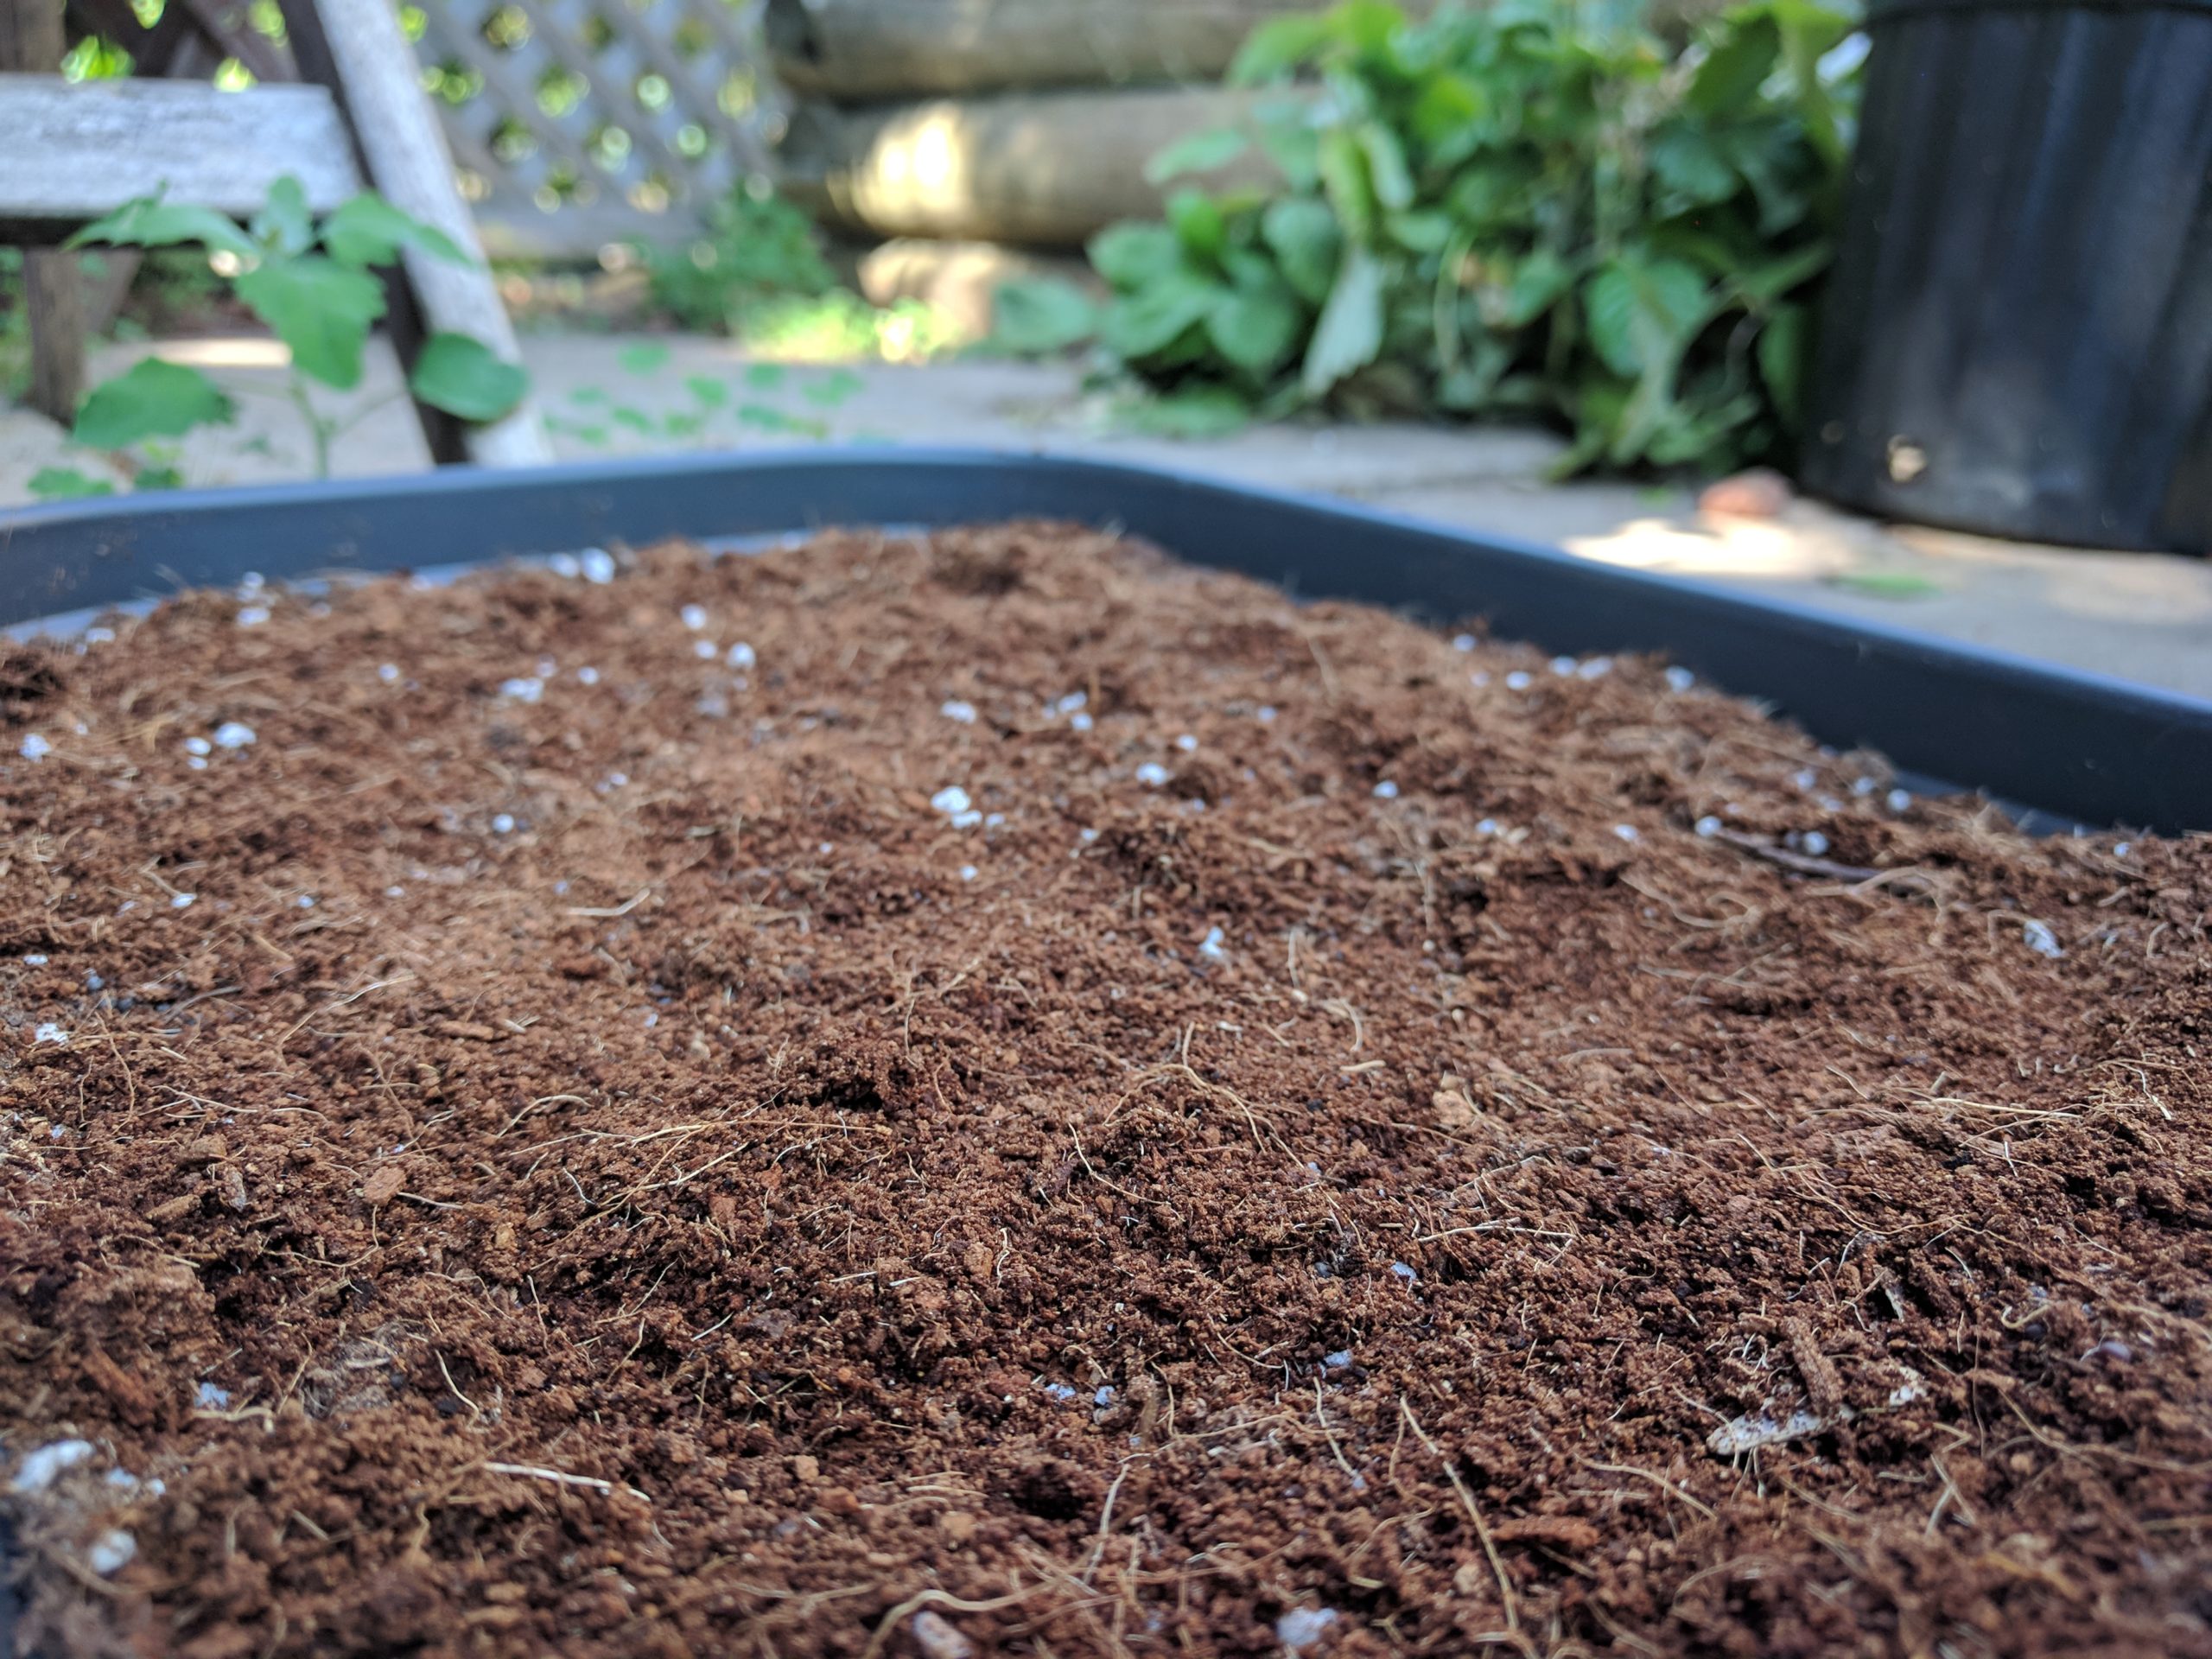
- Fill tray with potting mix
- Smooth soil to create an even surface
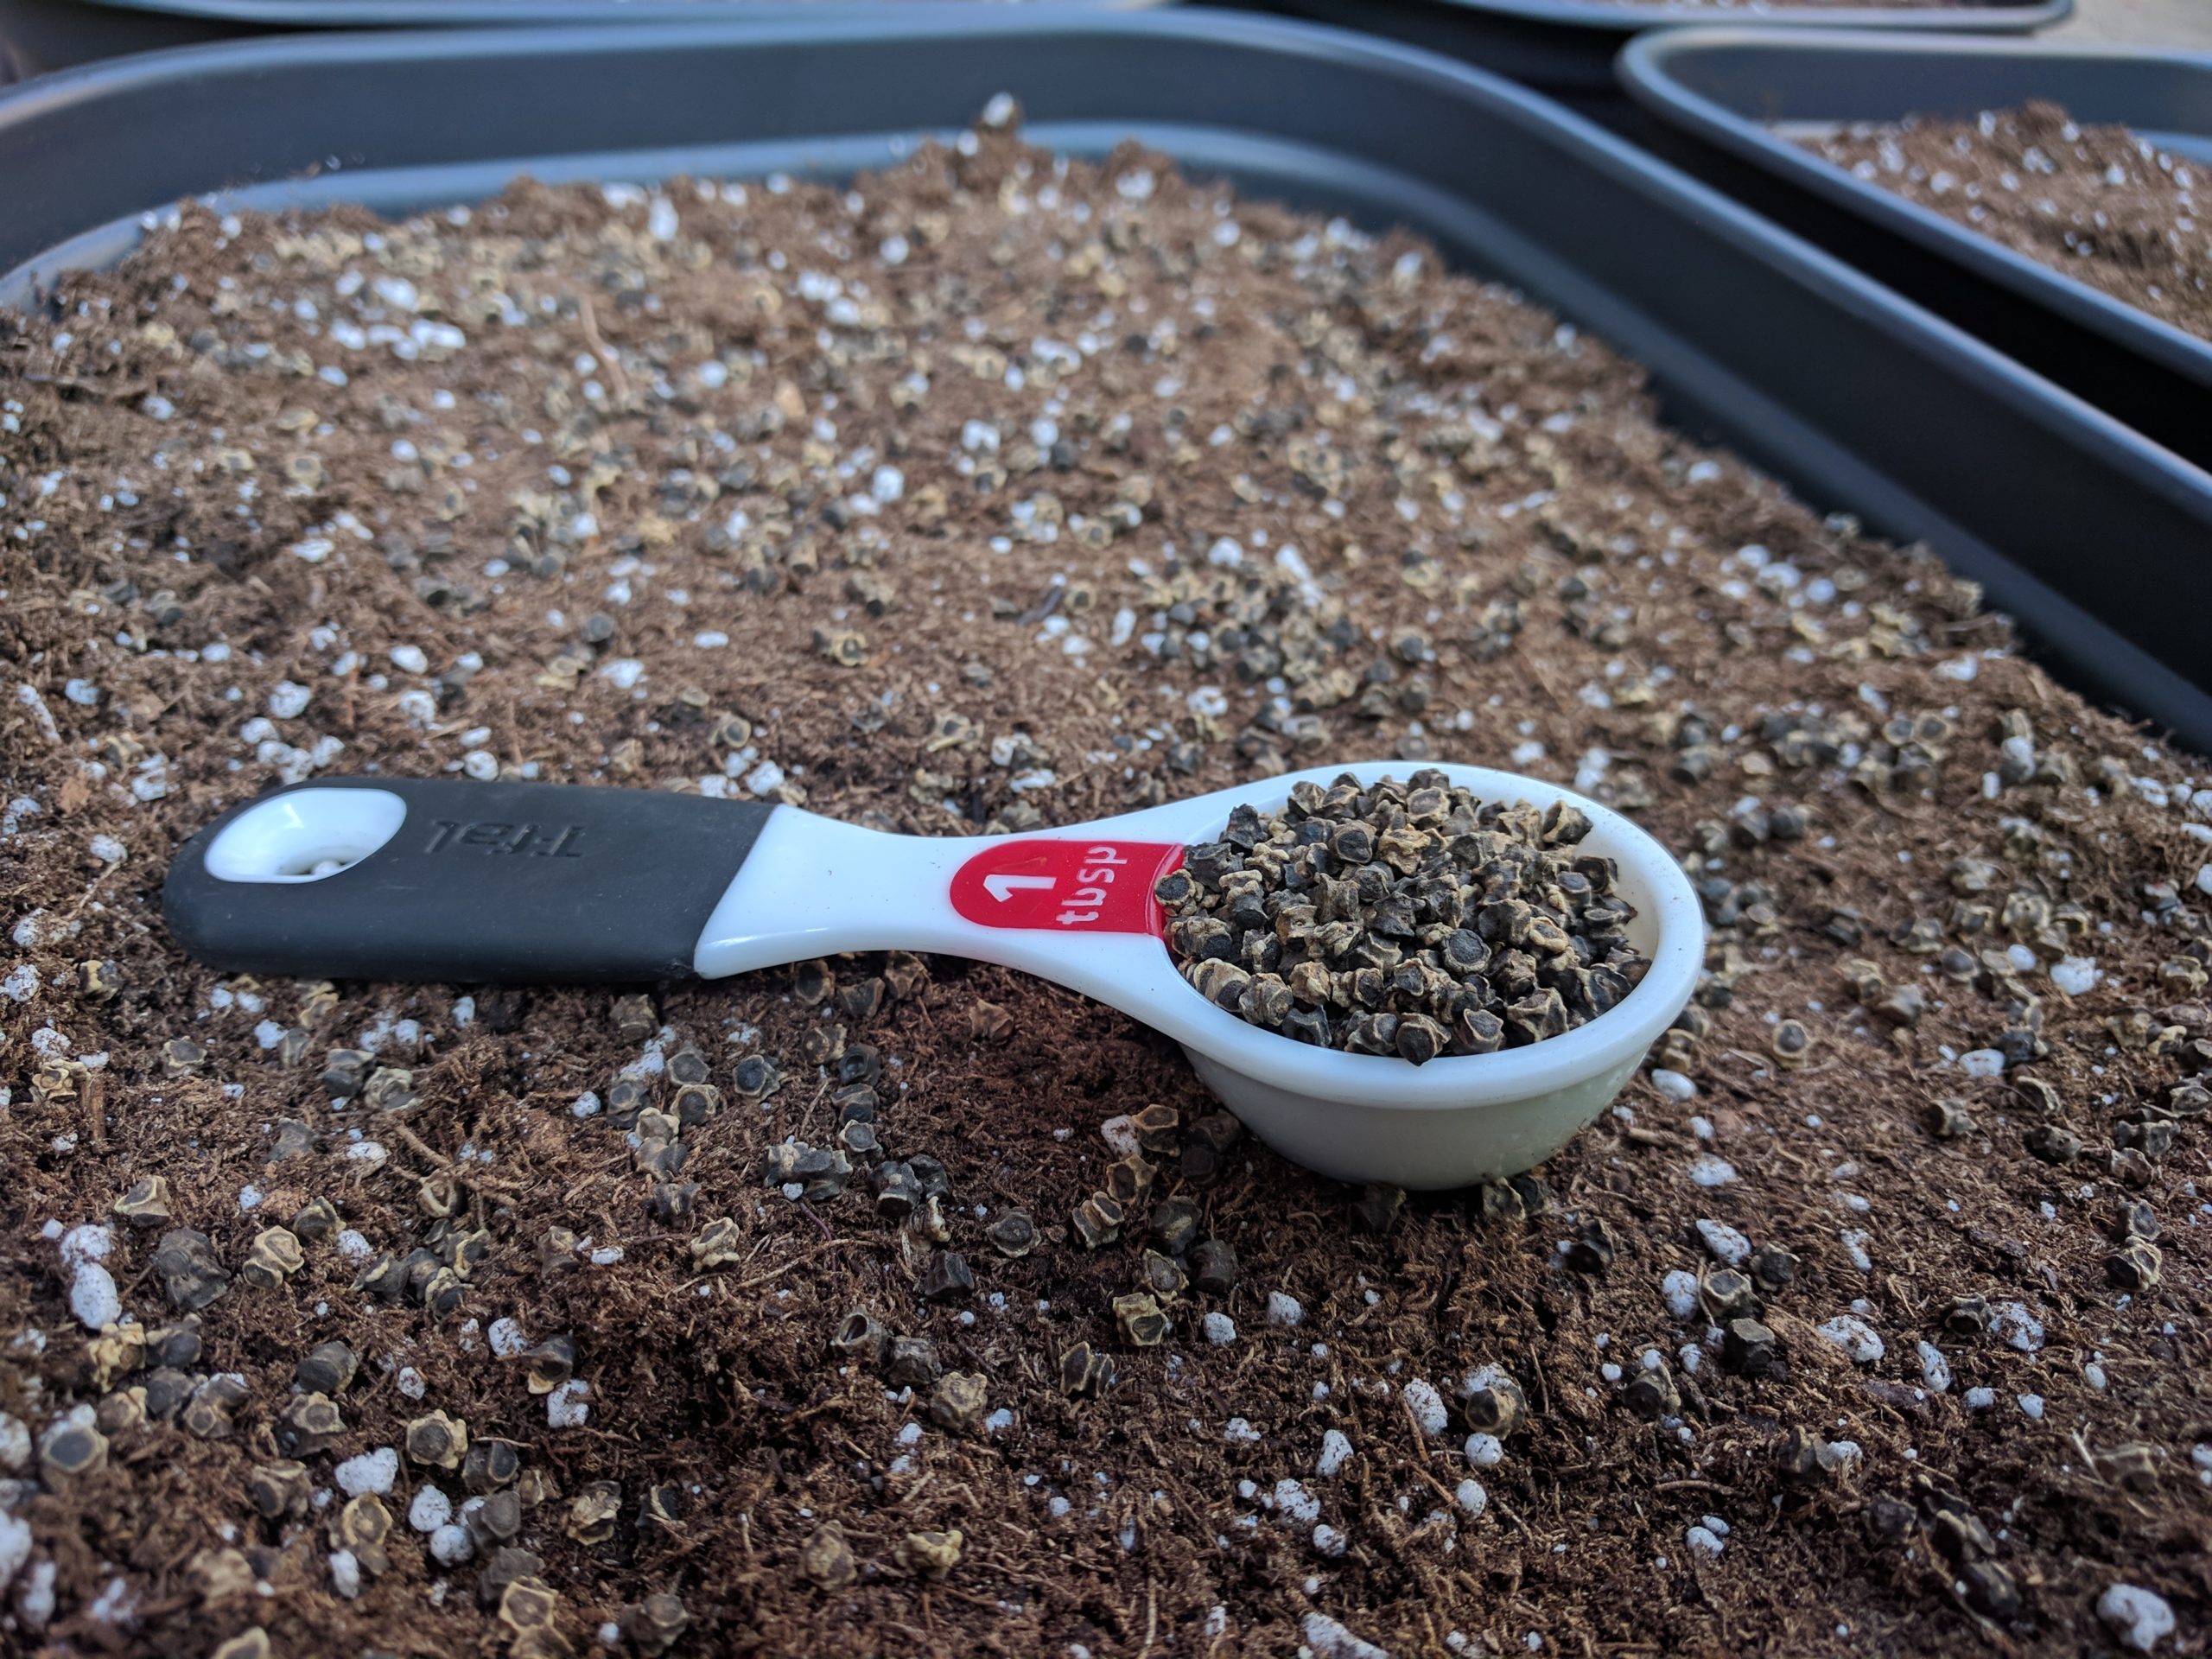
- Evenly broadcast (scatter) seed on surface of soil. Seeds may be touching but not overlapping.
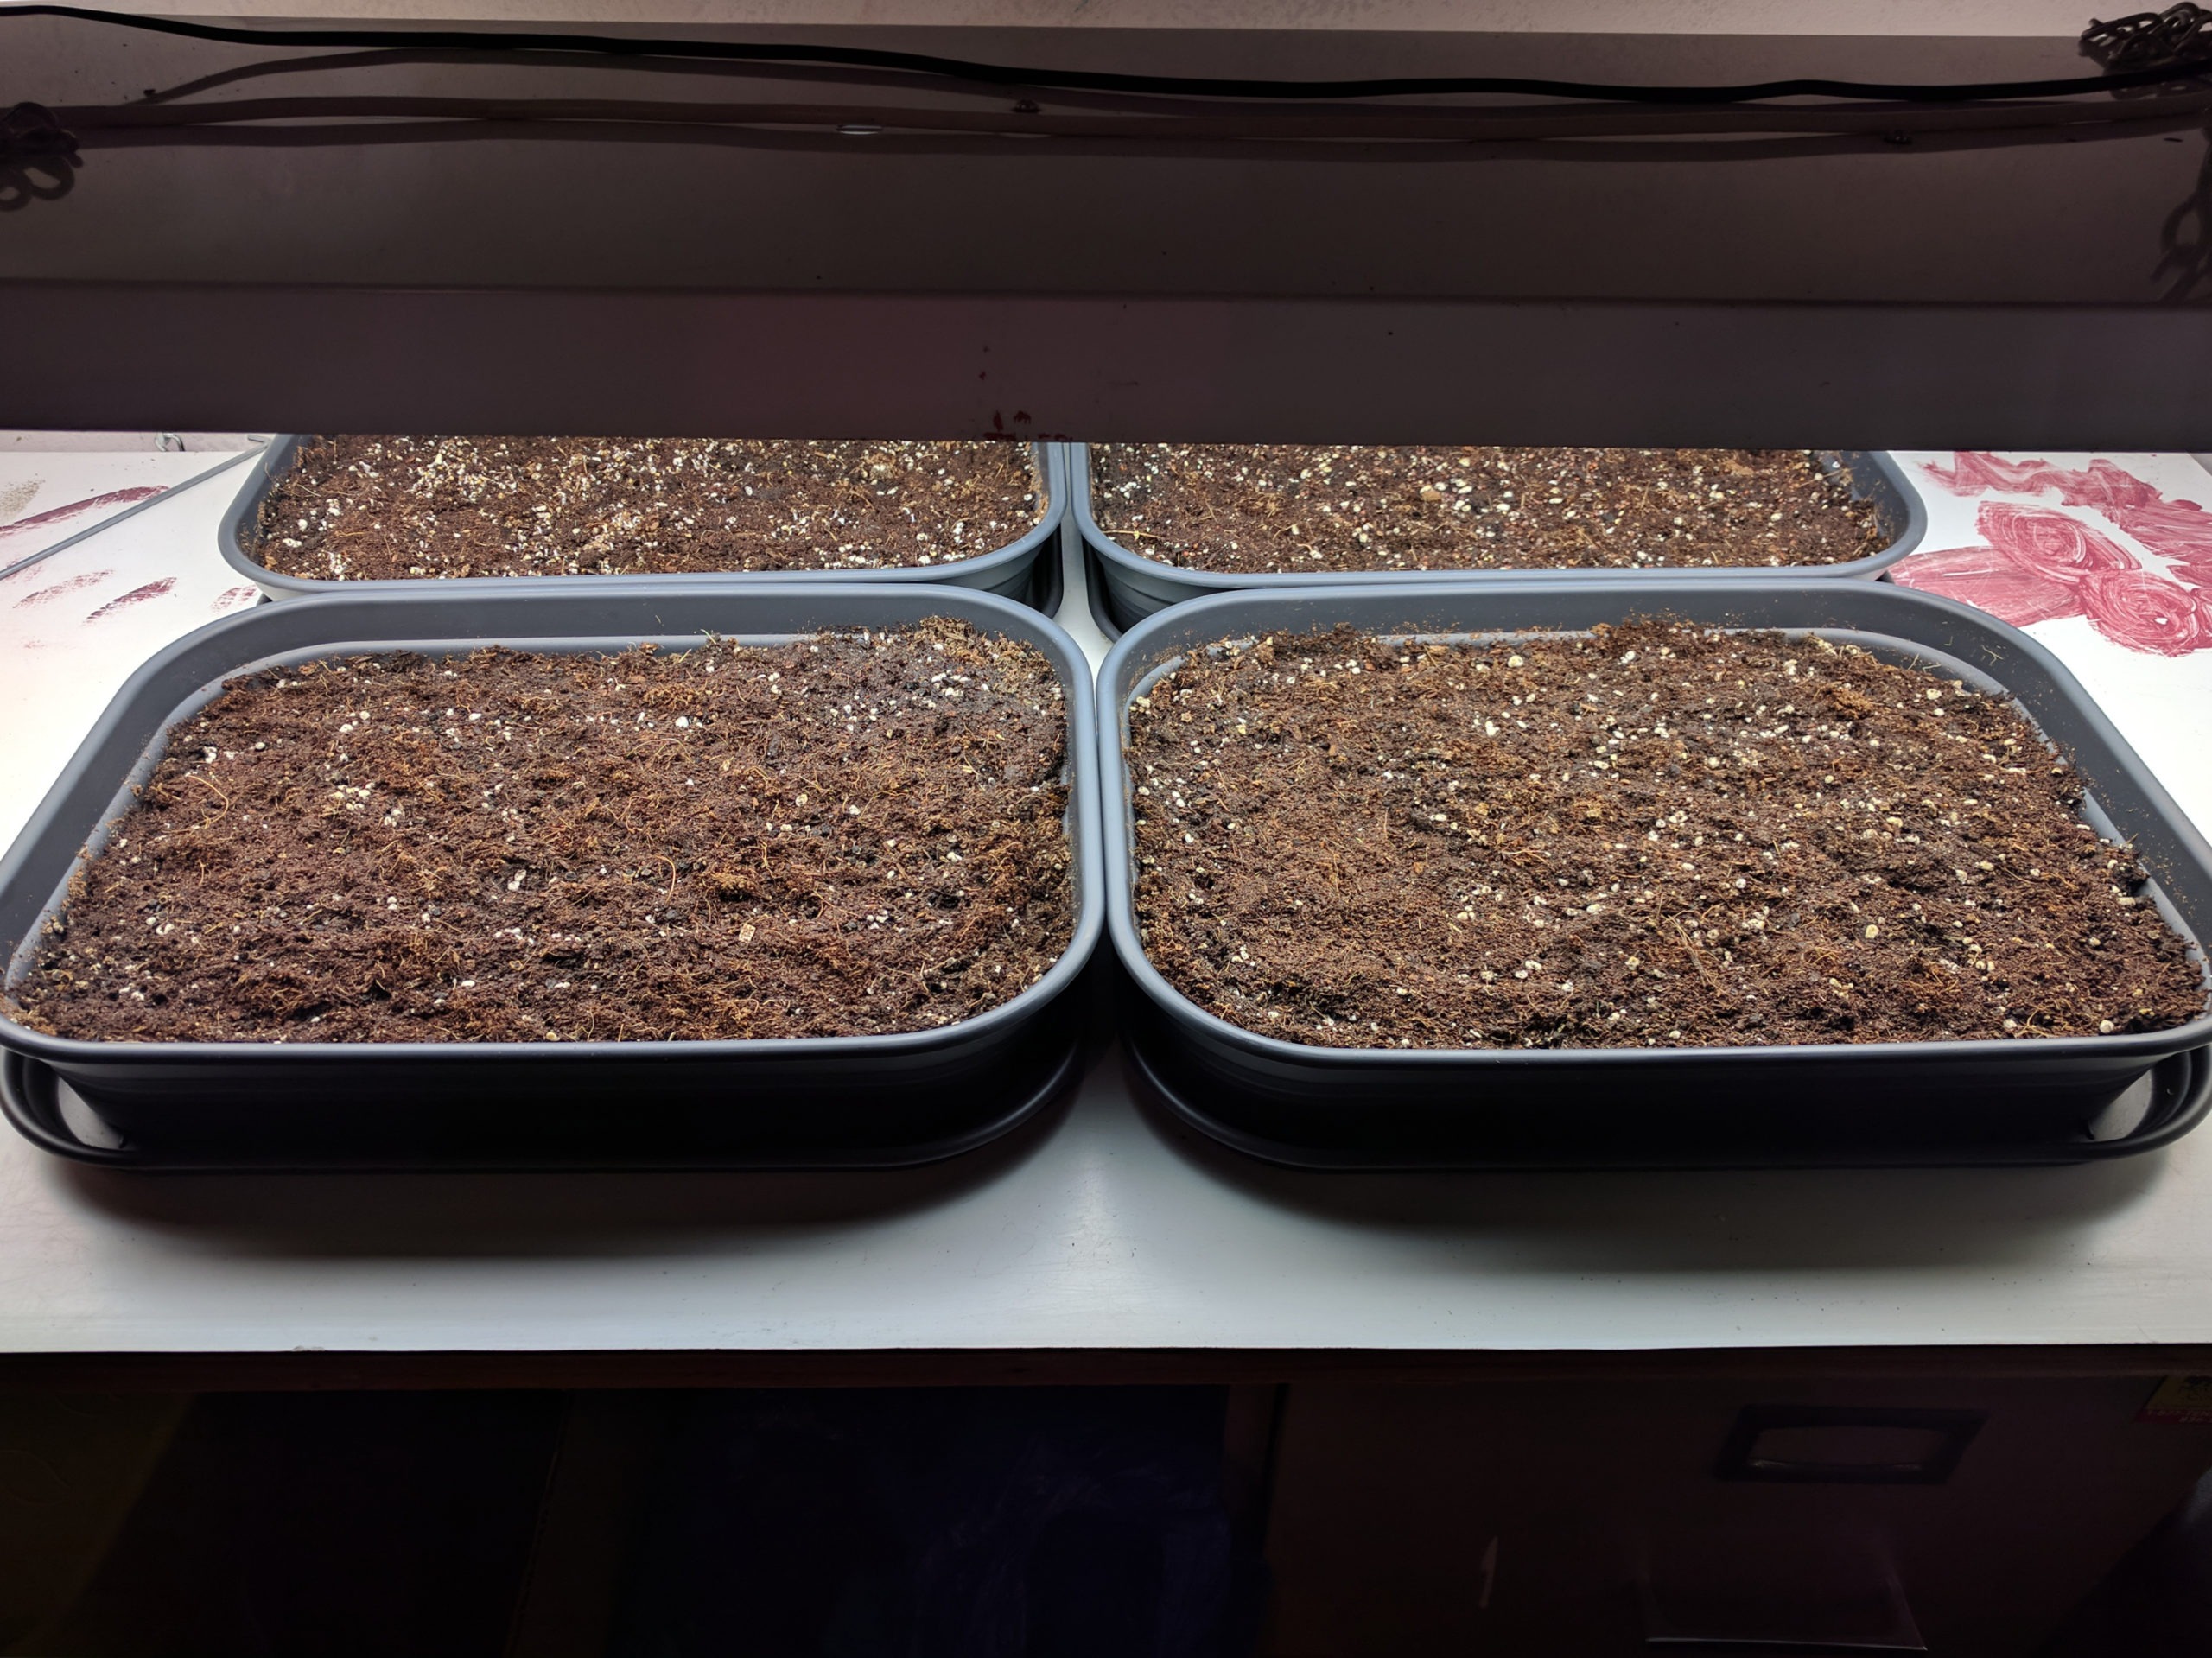
- Sprinkle coconut coir evenly over soil and seeds, using fingers to break up any clumps. Seed may still be visible through coir, this is not a problem.
- Gently water seeds with a watering can so that the soil is evenly saturated but not sopping wet. If using a spray bottle with misting function, mist the surface of coconut coir, careful not to disturb seeds. Mist until saturated.
 |
 |
- Place in a sunny window or under a grow light.
- Check seeds every day to assess moisture of the soil. Water daily if required, to maintain moist but not sopping soil. After seeds have germinated, start to water from below by filling the saucer with roughly 3 ounces of water. Water will wick-up through the soil and be easily accessible to the roots.
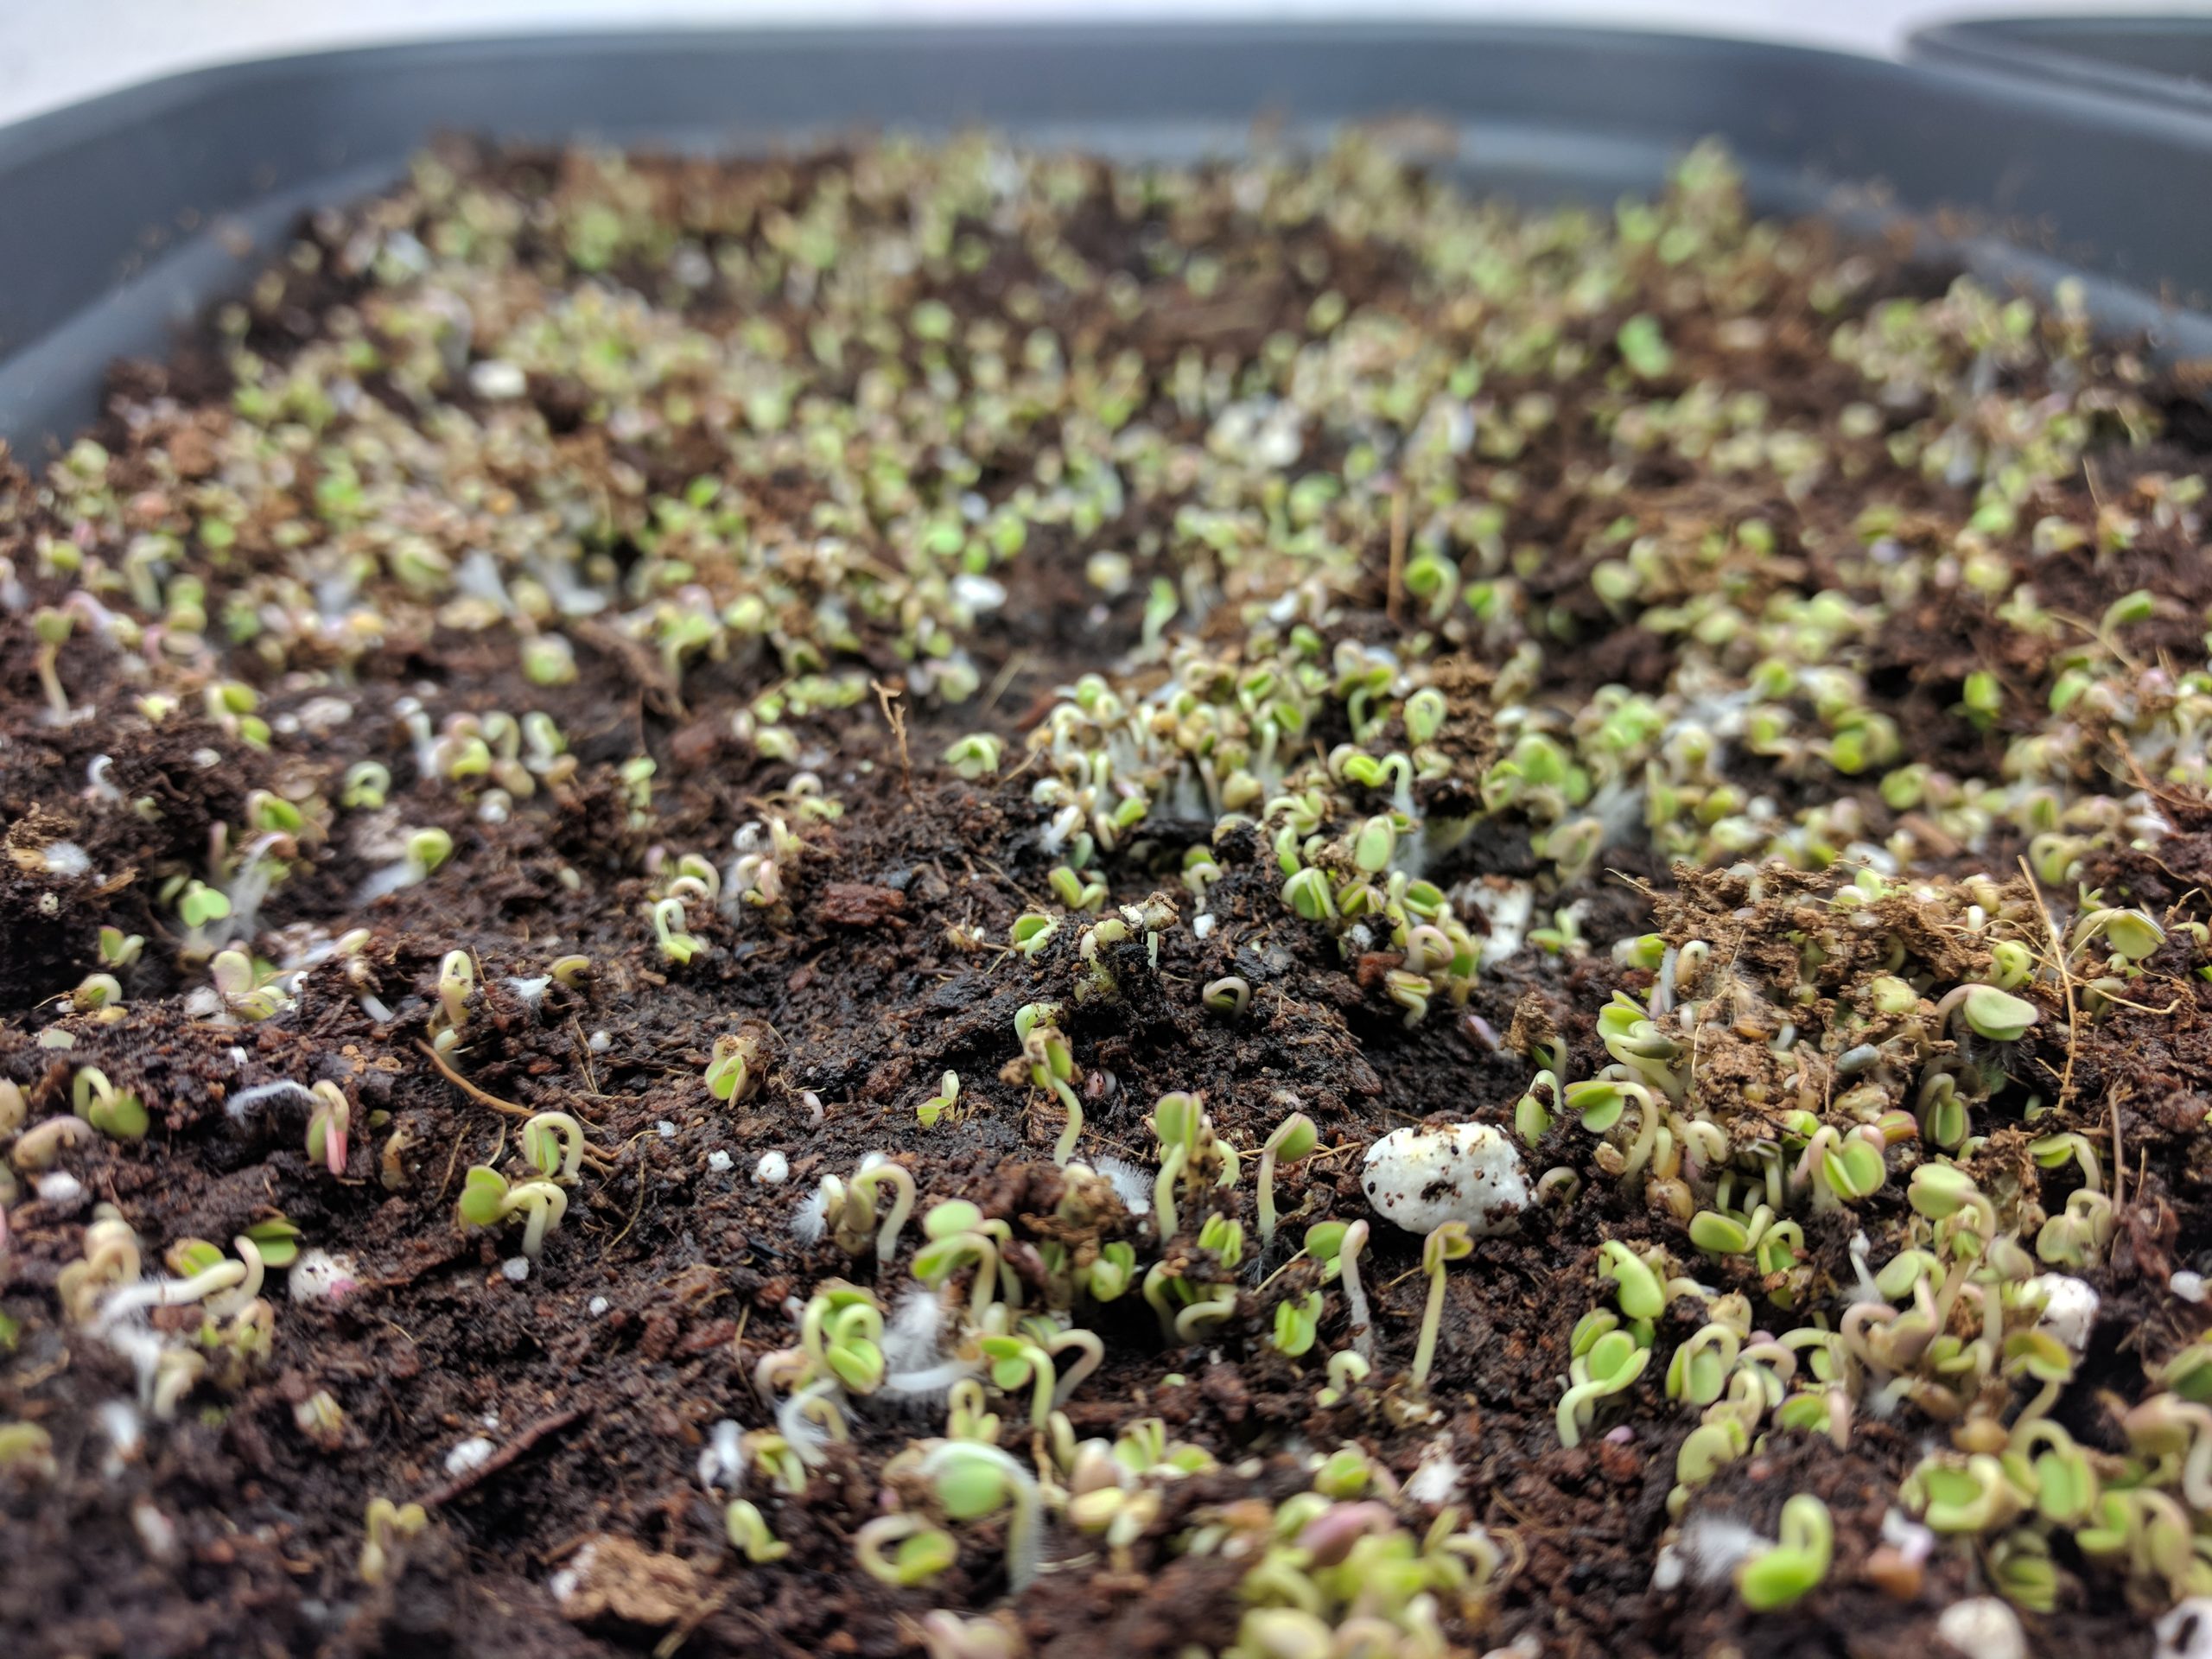
- Seeds should germinate in 2-4 days
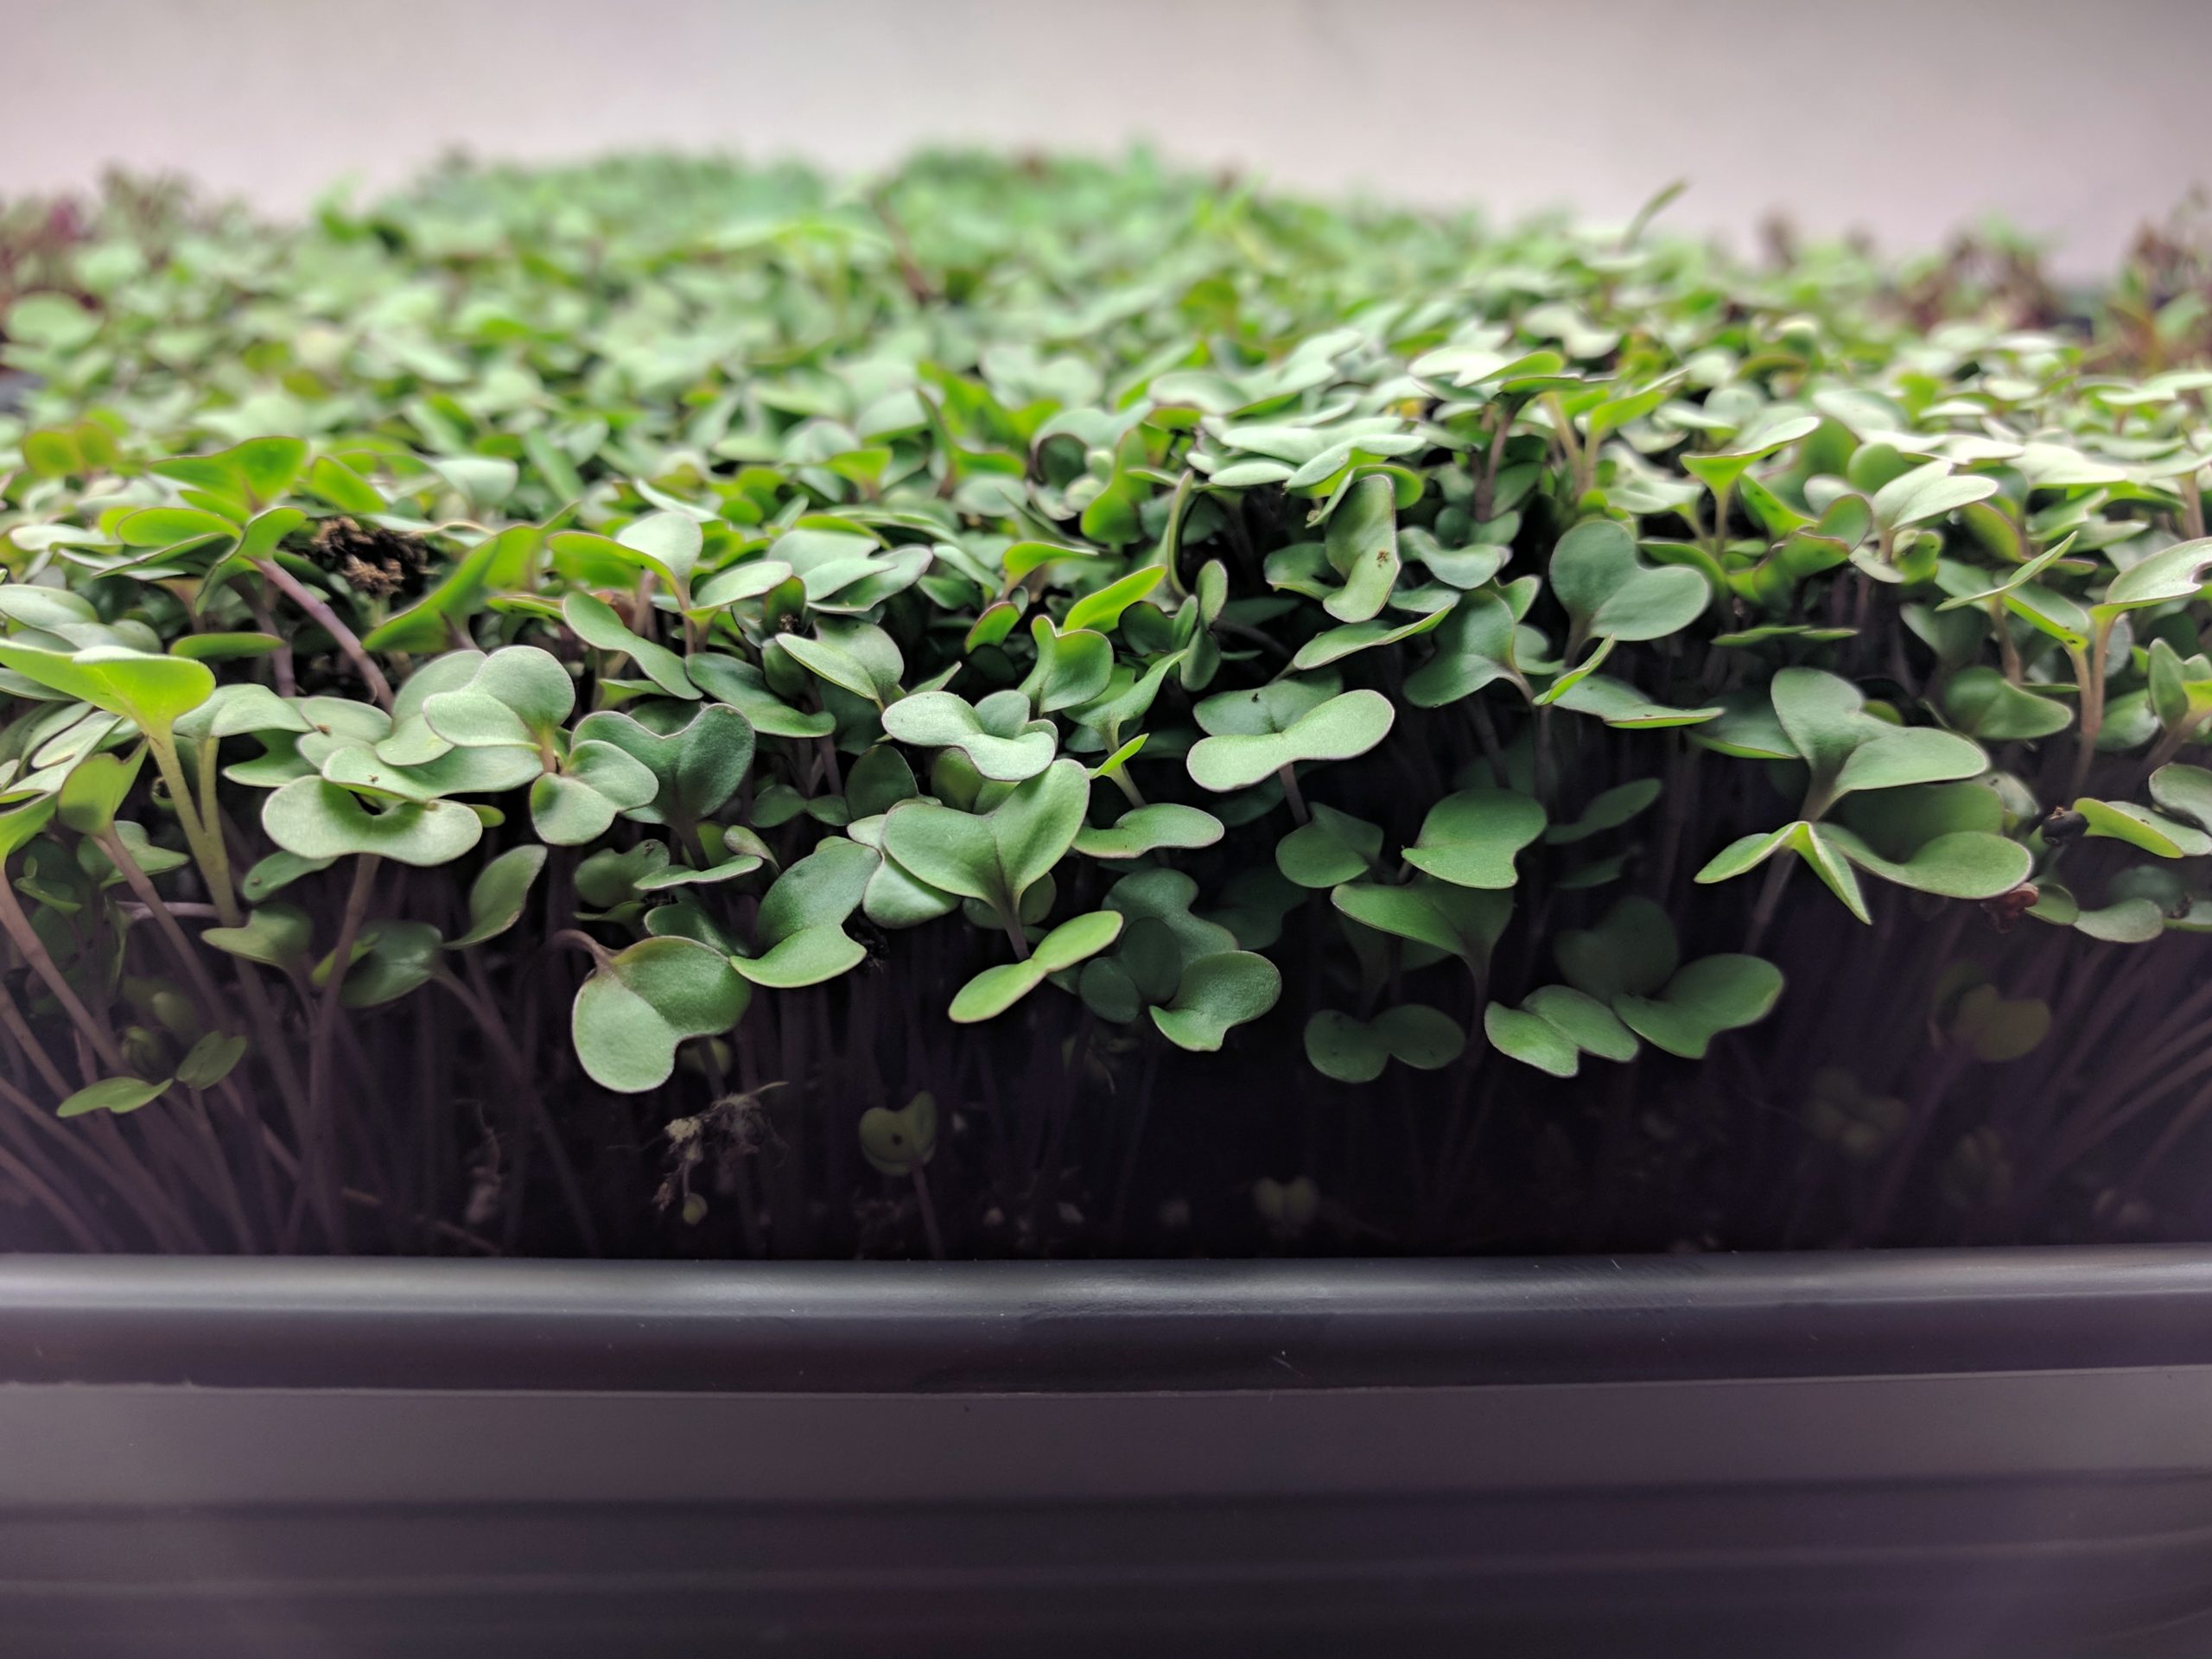
- Harvest times range based on variety of seed but should be approximately 7-10 days. Harvest after 10 days or when:
- Peas have reached 5 – 7 inches
- Arugula, Brassica Mix, Cilantro has reached 3 – 4 inches
- Sunflower seeds have reached 2 – 3 inches
 |
 |
 |
- Harvest with scissors or a sharp knife, cutting at the base of microgreens.
- Compost remaining soil and roots. Soil, coir and roots should not be used for subsequent seedings.
- Wash and dry tray and saucer with warm water and mild soap.
- Eat and repeat!
Notes
- In Toronto, soil and plant matter may be placed in your Green Bin, should you not have an in-ground compost
- Expect delayed germination and harvest times if tray is placed in cooler environment
- When microgreens start to reach maturity, taste the ones that are most mature. Tasting your microgreens will help ensure that you harvest them when you find them tastiest. Keeps notes for subsequent harvests.
- Microgreens should be stored wrapped in damp paper towel and placed in a reseal- able bag or container, then refrigerated. Keep microgreens cool and stored right up until use for best flavour and freshness.
- If you’re a microgreen lover, consider seeding a tray every 3-4 days for continuous and diverse harvest.
- Should microgreens start to grow leaning towards the light source, rotate tray in order to have uniform growth.
Frequently Asked Questions
How much seed do I use?
How much seed you use depends on the size of the seed. Large seeds like sunflowers and peas need larger volumes of seed (1/4 cup per 500 cm2 tray), medium-sized seeds (beets, radish, cilantro) need roughly 1 tbs for a tray per 500 cm2 tray, where as small seeds like basil only need require 1 tsp for a 500 cm2 tray. (BUFCO’s small-sized DIY microgreen kit has, roughly, a 500 cm2 surface area). After broadcasting, there should only be a thin layer of seeds over the soil. Overseeding can lead to mold and dampening off.
Can I mix a variety of different seeds on a single tray?
We don’t recommend broadcasting seed mixes as microgreens. Each plant (even two varieties of the same plants) may have different maturity times, growing habits, and heights. By mixing the seeds, the fast growing varieties will crowd out the slower growing varieties and block them from receiving light. If you have a long tray, you can try dividing it into two sections and planting one variety in each half.
How much coconut coir do I use? Can I skip it altogether?
Coconut coir is used as mulch to hold moisture in the soil as your seeds are germinating. Having too much coconut coir can lead to mold or dampening off.
Coconut coir is also used to keep the seeds close to the soil while they are germinating. Depending on the seed variety, the seed may push itself above the soil as it is germinating. In our experience, not using any coconut coir has led to uneven germination. We’ve found that the perfect amount is just a thin sprinkling–a little goes a long way!
Where can I get coconut coir?
Coconut coir can be found at most hydroponics stores. We prefer to use the uncompressed/loosely packaged varieties with microgreens.
How can I make one seeding of microgreens last longer?
Some greens can regrow as long as you leave a leaf or two when you harvest them. Of course, you can only do this a limited number of times, and it only works for some of the aforementioned plants (ie. peas).
Some sections of my tray are wilting or molding, what do I do?
Wilting sections are likely caused by a disease called damping off. Simply pick off those parts so it doesn’t spread to the healthy plants.
Damping off typically happens because that spot has been overseeded. To prevent this from happening, ensure the seeds are broadcasted thinly and evenly over the tray. It takes a lot of restraint, but in my experience, it has always worked better to under-seed than over-seed! This ensures enough circulation between individual plants.
To prevent spreading disease from one succession to another, make sure you are disciplined about washing the pots and trays with soap and water before planting another round of microgreens, even if your microgreens did not suffer from disease, wilt, or mold.
Don’t worry, I’ve made every one of these mistakes!