We are always looking for new ways to garden in underutilized urban spaces, and our yard is the perfect venue for experimentation.
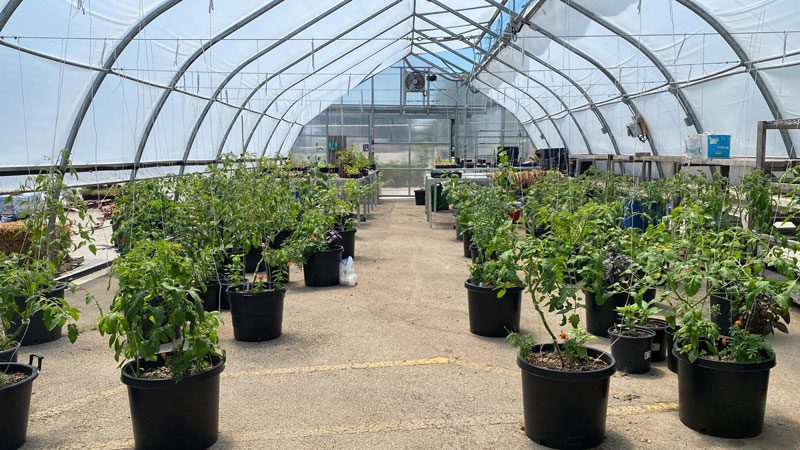
We operate in the corner of a parking lot in a pretty industrial area in Etobicoke. We have already set up several raised beds and cultivated the edges of the property. After the seedlings sell out in our greenhouse, we transition it to hot house production for veggie shares for our staff. We currently grow out of pots in the greenhouse, but pots are made of plastic, and the potting mix we use needs to be emptied, solarized, and stored each year.
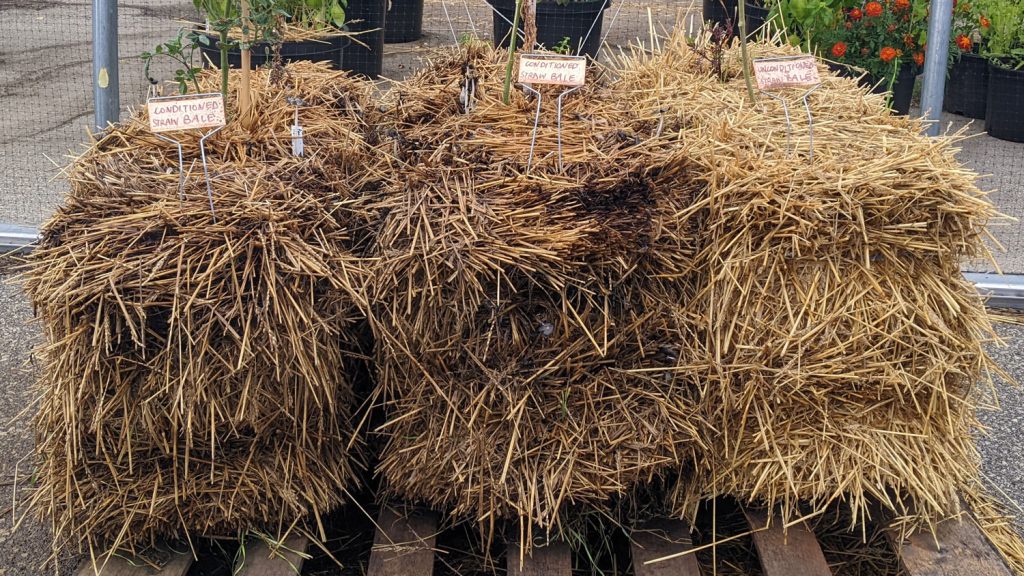
Enter the straw bale. We’ve seen people grow directly in straw bales, and if it works it could be a game changer for us: we would be able to grow on our pavement spaces without plastic pots and without the permanence of raised beds (especially if we grow on pallets that can be moved with out pump truck!). The straw bale itself is basically a biodegradable pot that can be salvaged as organic straw mulch at the end of the season.
Conditioned Straw Bale Method
Straw bales need to be conditioned in order to speed up the decomposition process and activate the bacteria that can make nutrients bioavailable to plants [Source]. The entire process takes approximately 2 weeks, we have to work back from our desired planting time.
Materials (per straw bale)
- 1 Organic Straw Bale
- 18 cups Organic Blood Meal
- 2 cups Jocelyn’s Soil Booster
- Organic Seedlings
- Thermometer
- Water
Method
This is how we conditioned our bales:
| Day | Date | Task | Desired Temperature* |
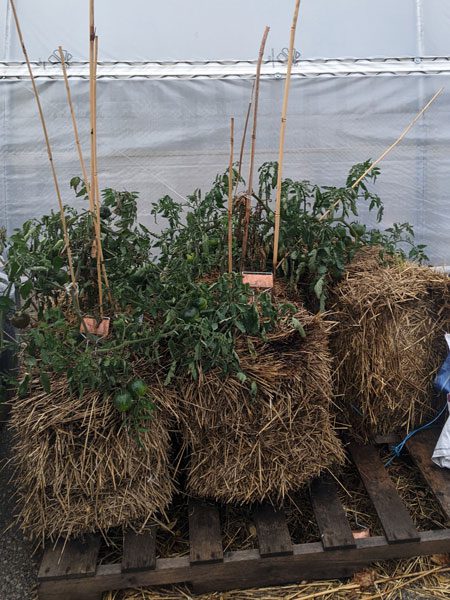
| 0 | Thurs, 29JUN23 | Set up straw bales on palette with the long sides of the straw oriented up and down | |
| 1 | Fri, 30JUN23 | Soak straw thoroughly | |
| 2 | Sat, 01JUL23 | ||
| 3 | Sun, 02JUL23 | ||
| 4 | Mon, 03JUL23 | ||
| 5 | Tues,04JUL23 | Apply 3 cups of blood meal** evenly over straw surface Soak straw until water starts coming out, but not any more than that Check and record internal temperature of each bale (should be rising) | 40°C |
| 6 | Wed, 05JUL23 | 50°C | |
| 7 | Thurs, 06JUL23 | 60°C | |
| 8 | Fri, 07JUL23 | Apply 1.5 cups* of blood meal evenly over straw surface Soak straw until water starts coming out, but not any more than that Check and record internal temperature of each bale (should be high) *We ended up using 3 cups on these days as well since our internal temperatures were not high enough | 60°C |
| 9 | Sat, 08JUL23 | ||
| 10 | Sun, 09JUL23 | ||
| 11 | Mon, 10JUL23 | *Might be delayed if bale temperature was not high enough in previous days Sprinkle soil booster over straw Soak straw until water starts coming out, but not any more than that Check and record internal temperature of each bale (should be cooling) | |
| 12 | Tues, 11JUL23 | ||
| 13 | Wed, 12JUL23 | ||
| 14 | Thurs, 13JUL23 | ||
| 15 | Fri, 14JUL23 | ||
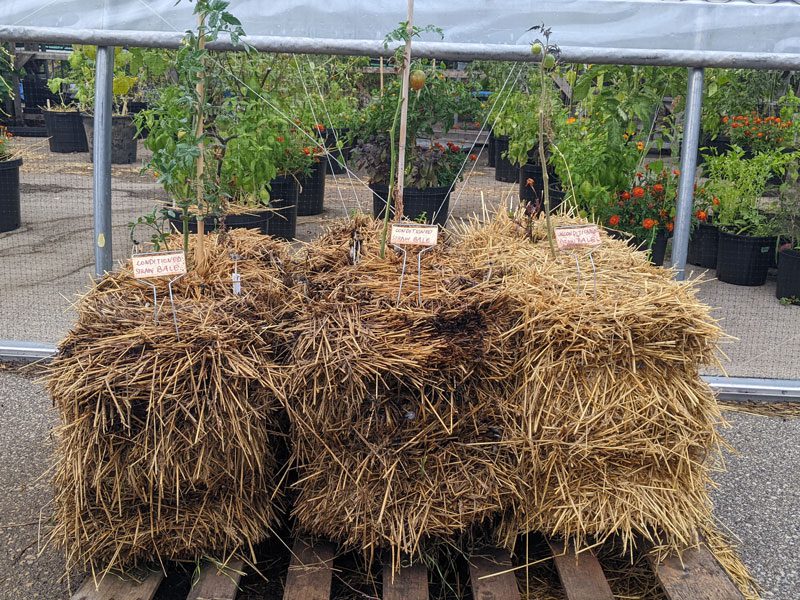
| 18 | Mon, 17JUL23 | Plant! (Make planting hole in the the straw bale and add compost) | 37°C |
** We noticed that the blood meal attracted flies during the conditioning process. This did not persist once the bale is conditioned. Blood meal is the only organic amendment that has enough nitrogen to jump start the internal decomposition of the straw bale!
We combined methods from these sources, using the organic substitutions as necessary:
- How to Condition Straw Bales, The Millennial Gardener
- Straw Bale Garden, Journey with Jill
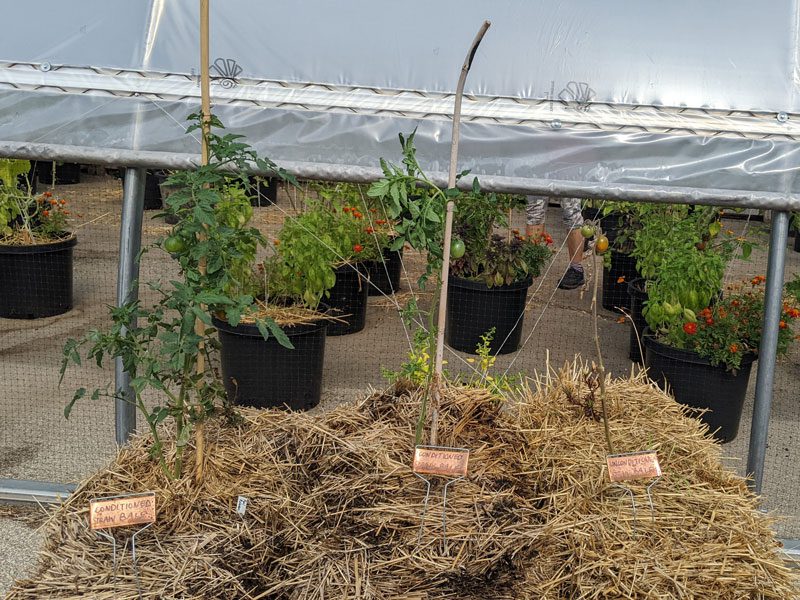
Unconditioned Straw Bale
Just as a control, we are also trying to grow directly in unconditioned straw bales with some compost in the planting hole as well.
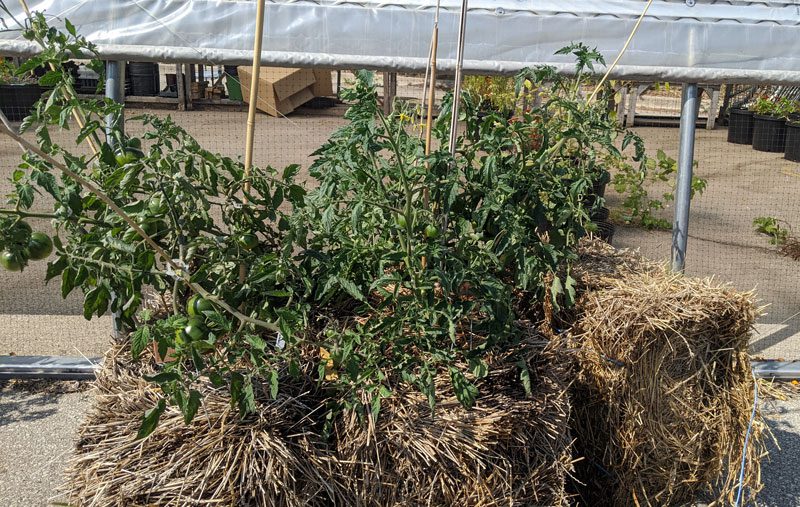
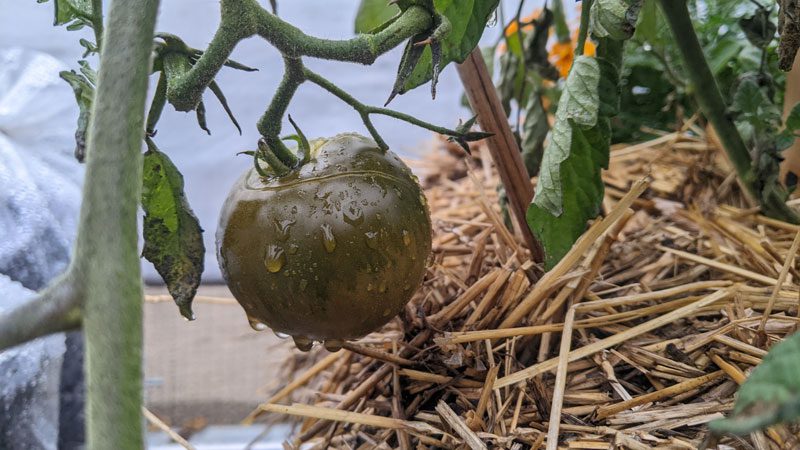
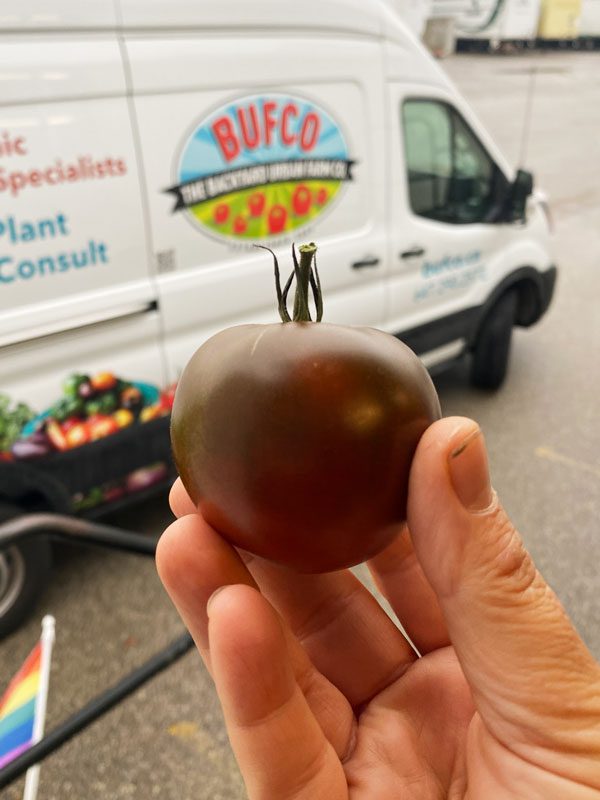
Ultimately, we chose three to plant three Paul Robeson Tomato Seedlings (all of them had overgrown their 4″ pots, and were not in good condition to begin with) to plant in two conditioned bales and one unconditioned bale.
Observations
We had extremely low expectations given the health of the seedlings when we first planted them, but the conditioned straw bales ending up working very well, and even outlived the tomatoes we grew in pots in the hot house. Despite not reaching the desired temperatures during the conditioning process, the plants in the conditioned bales thrived. After planting, they did not receive any more organic fertilizers, nor did we bother pruning them; yet they did not succumb to the diseases that our other tomatoes struggled with.
The unconditioned bale, on the other hand, did not work at all.


Conclusion
The cost of growing organically in conditioning a straw bale ended up costing us $40 ($20 for the organic straw bale + ~$20 for bulk blood meal). To compare, growing in a 15 gal plastic pot costs $75 ($15 for the pot + $60 worth of organic potting mix). Of course, a plastic pot will last longer than a straw bale, and you can solarize the potting mix for reuse. I would not advise using non-organic straw bales to grow food, as the straw may have been treated with insecticides among other yucky things.
One major reservation I have with doing this again is the amount of blood meal it leaches, staining the pavement below and generating run off nutrients–not good, considering that excess nutrients from conventional agriculture is what causes harmful algal blooms in the first place!!!
If you’re not growing it in on asphalt, it could be a great method for growing in difficult-to-establish spaces, or problematic spaces. We’ve had some clients struggle with blight this year, and growing in straw bales might be a good way to keep grow tomatoes next year without growing in the infected soil. That way, other plants can be grown in-ground next to straw bale to benefit from/absorb the excess nutrients.
What’s next? Since we have two pre-conditioned straw bales already, we are experimenting with growing garlic in them. We’ll let you know how it does… Stay tuned!